
Making Bread | The Kitchen Essentials for Sourdough
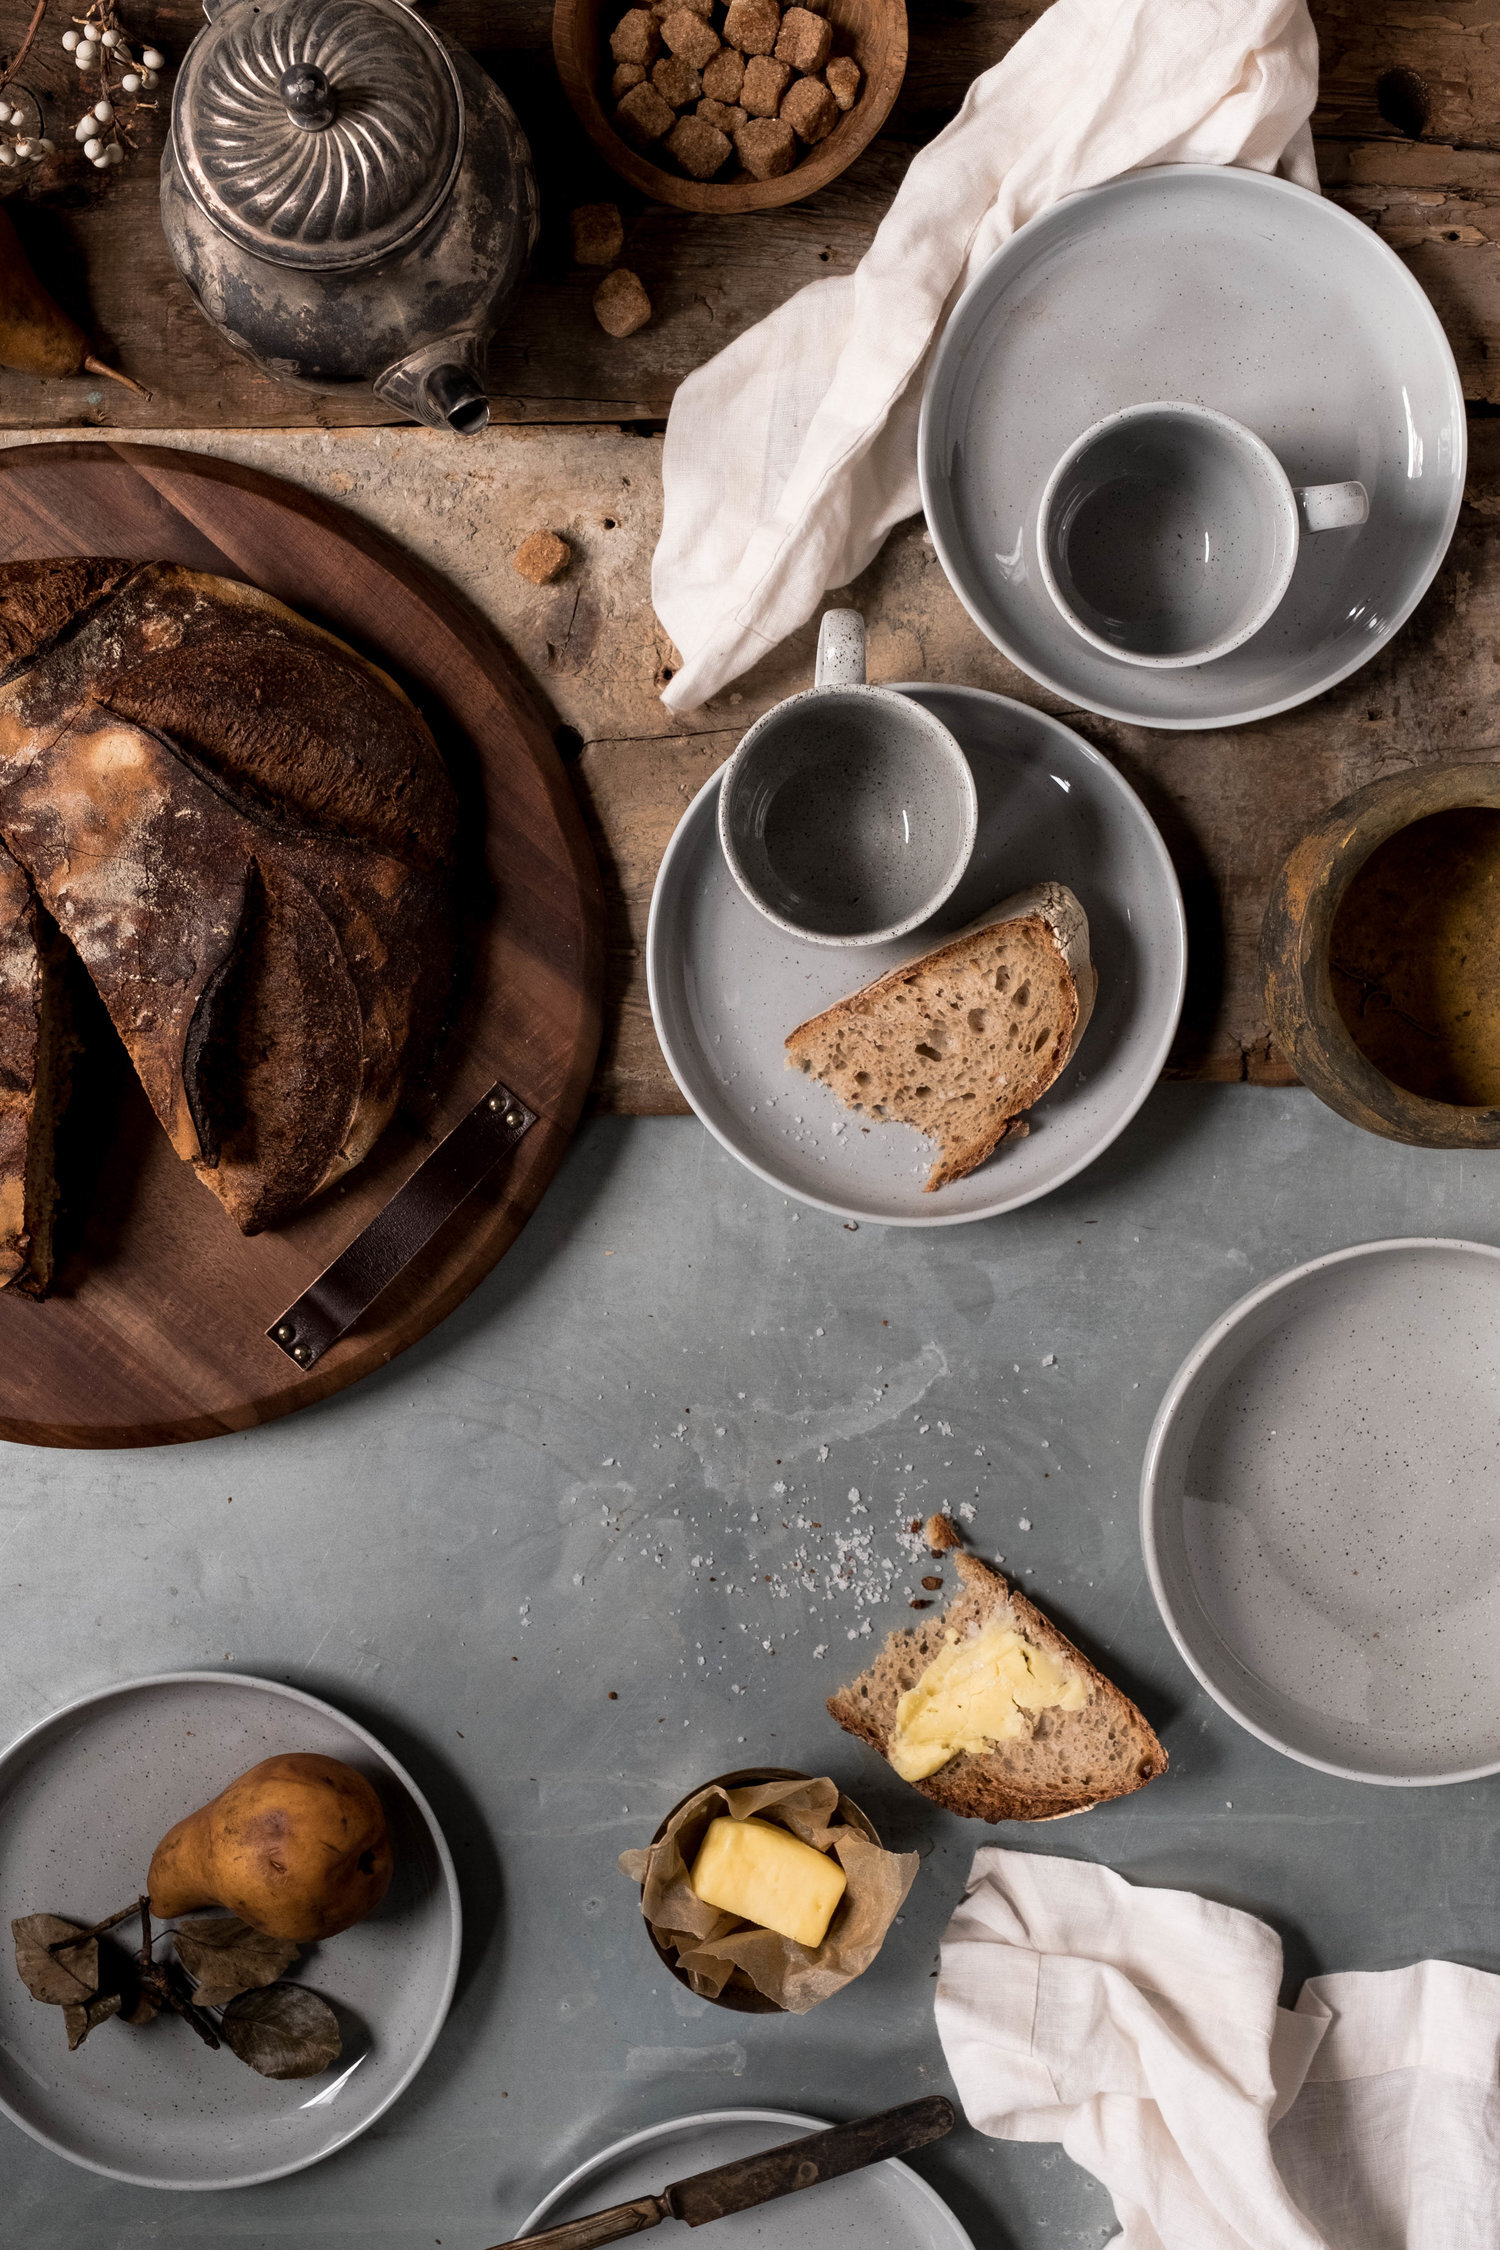
This past summer, I began my journey as an amateur bread maker. Truth be told, I used it as a distraction because I was having a difficult time. What I discovered is a cathartic process that takes time and if I needed to be reminded in life, one of the key ingredients for anything great to develop is time. More to come on my bread making adventures—many failures and some triumphs, one lesson is that you need to have the key tools on hand to assist you on this journey, because it definitely is one. I’ve learned that bread making is more science than art but with time and effort you can create a beautiful loaf. After reading about eight books and countless YouTube videos, I learned these are the key components to making bread.
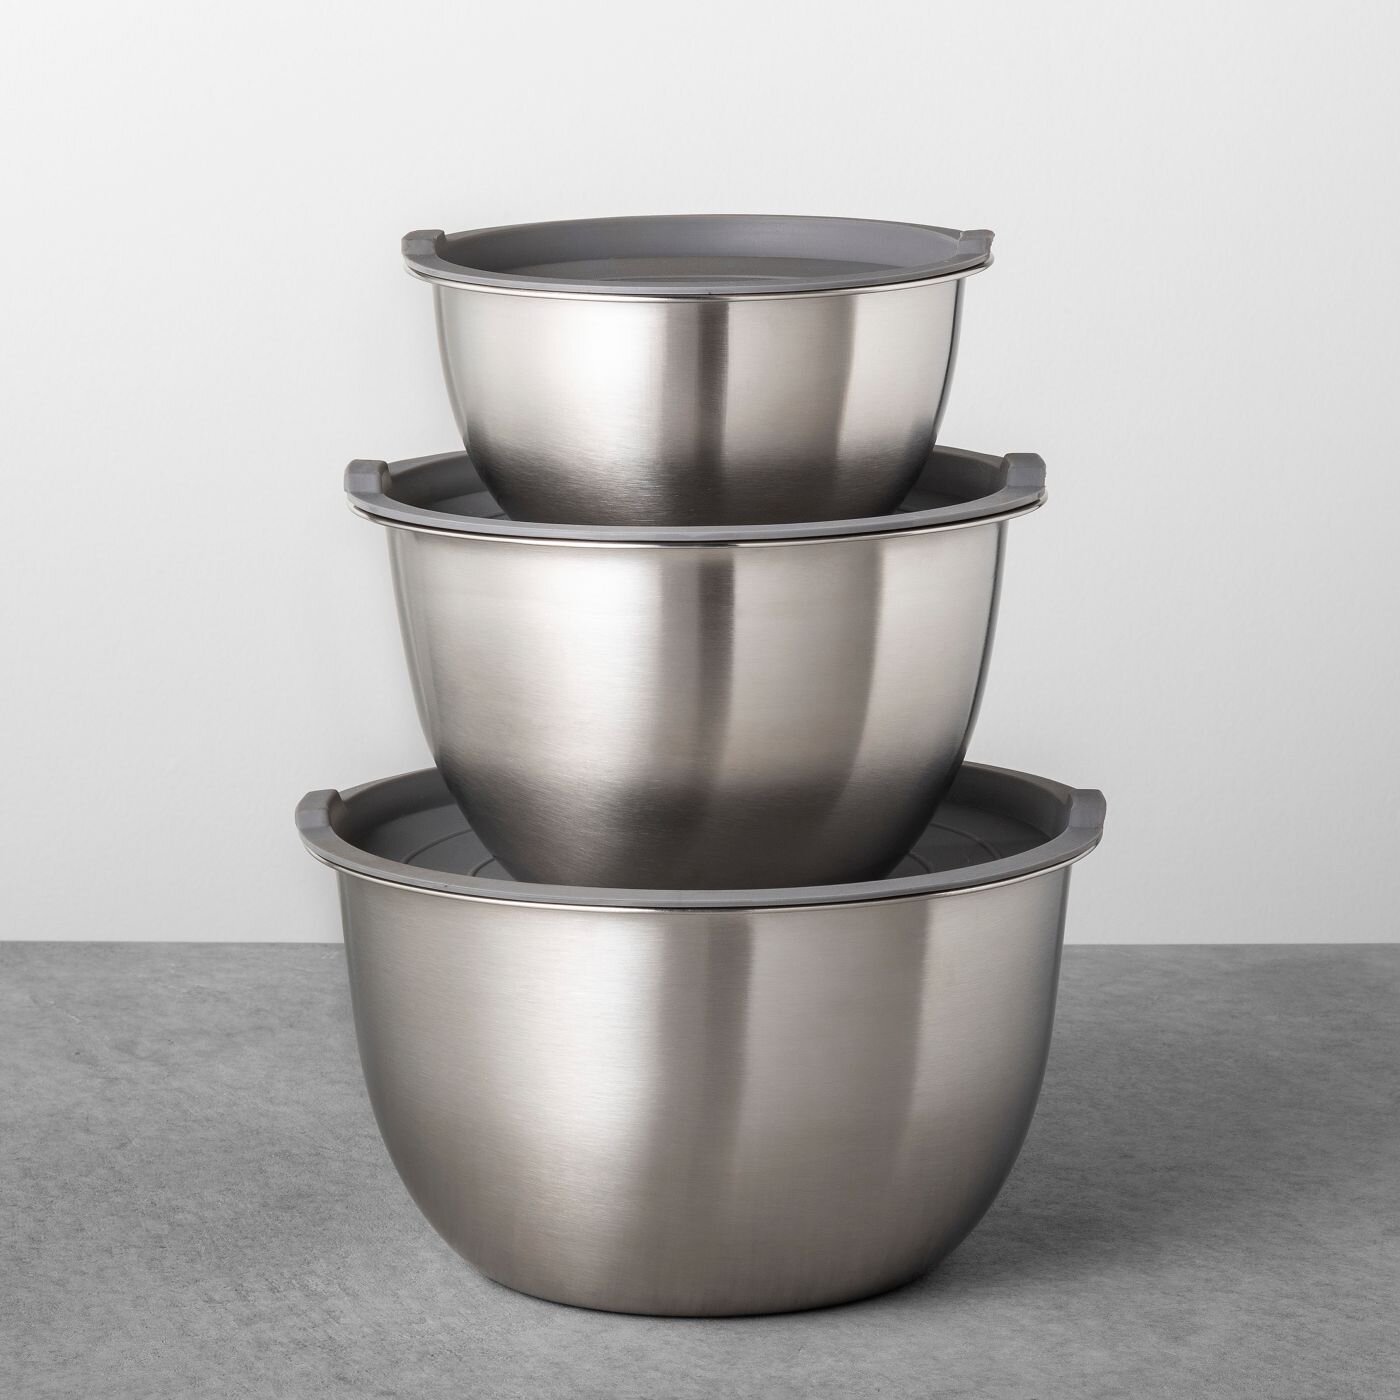
Mixing Bowls
An essential part to baking bread is having adequate sized bowls to mix the dough. This option allows you to also cover it without having to use plastic.
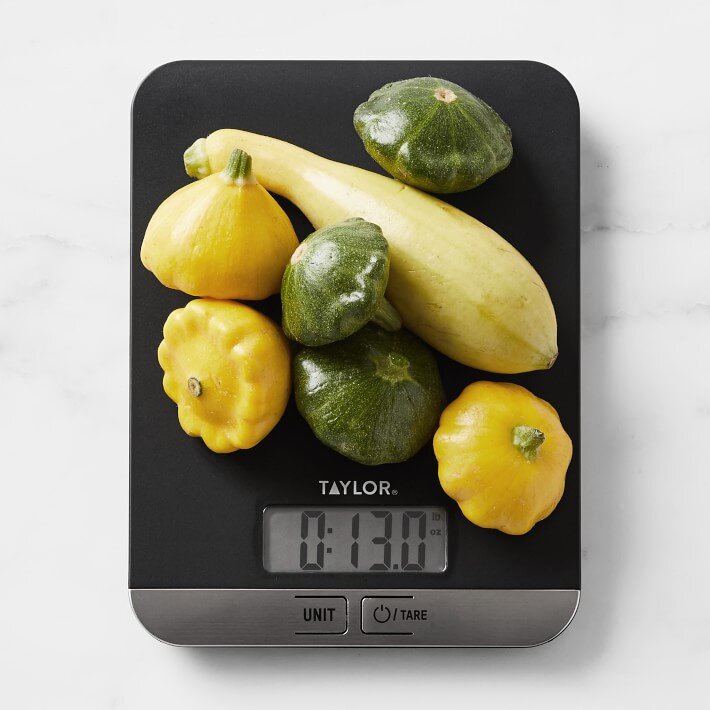
Digital Scale
Most bread makers utilize a digital scale to ensure the weight of the ingredients is accurate. This is a low-budget investment and will save time (and if we are being honest messing up) converting grams to cups.

Wood Board
Working the dough on a wood board, or a marble board, is the best way to mimic the working surface of a bakery. Plus, clean-up is a lot easier.
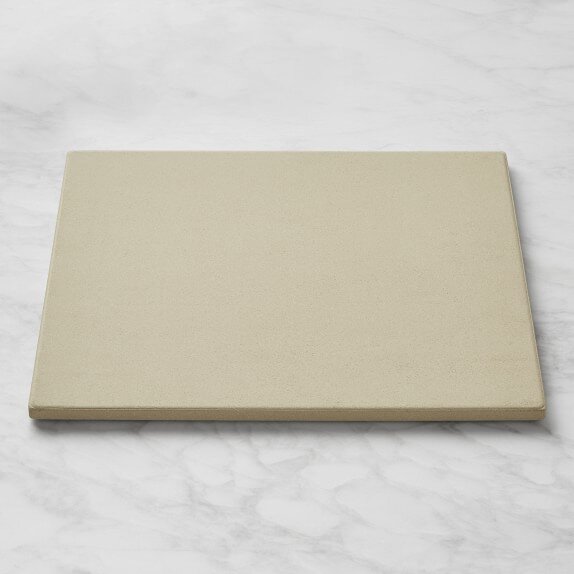
Baking Stone
The key to top notch bread is the high heat of an oven. While the majority of home ovens go up to 500 degrees, keeping the stone in the oven keeps things extra hot.
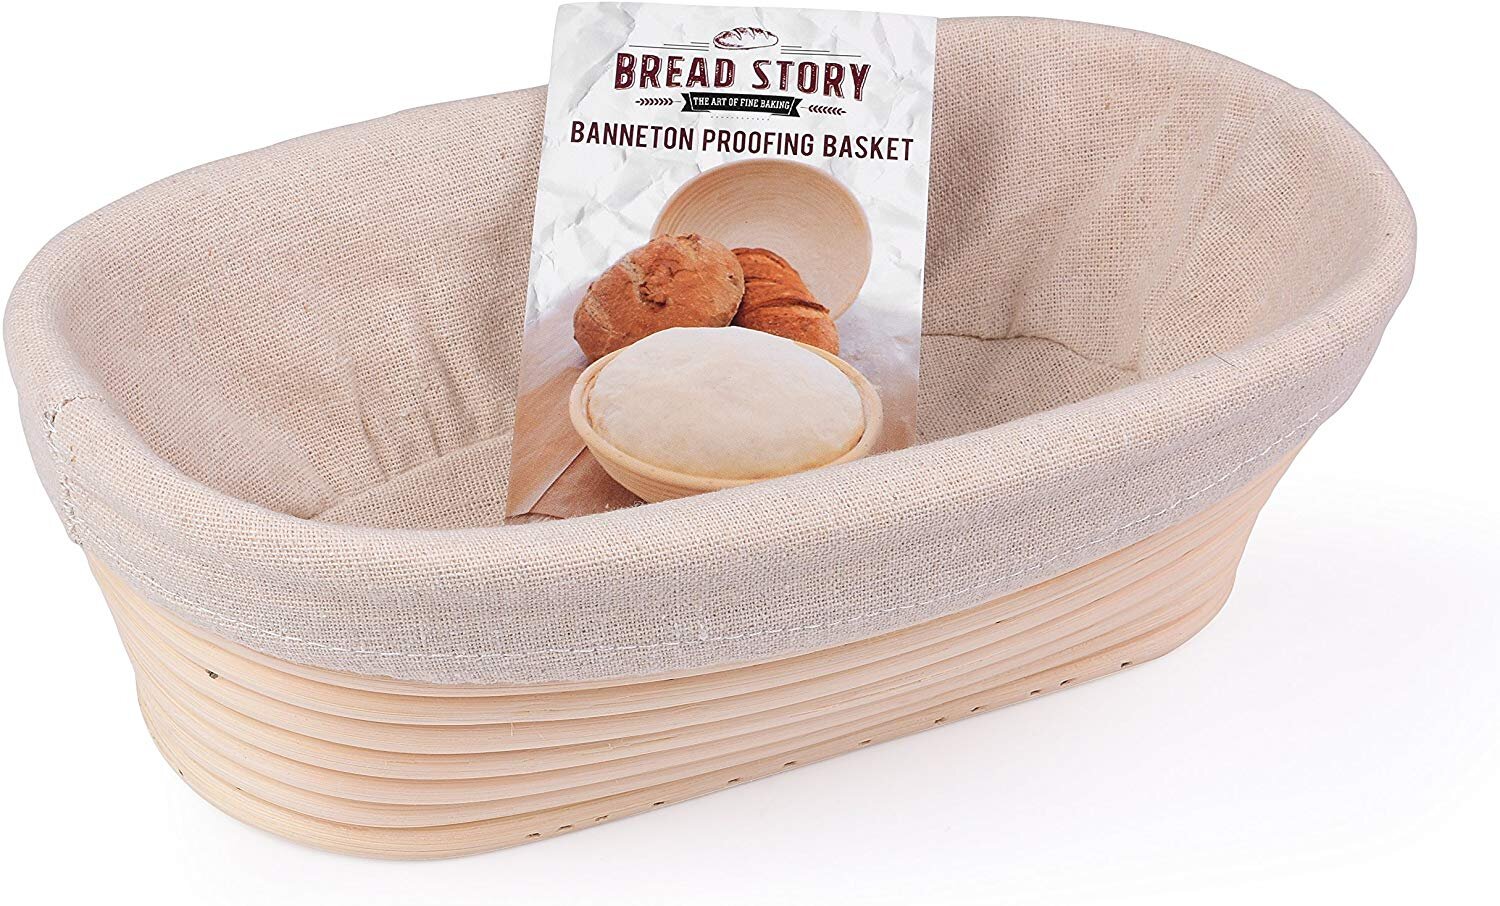
Banneton Proofing Basket
Mimic bread found at artisanal bakeries by investing in a banneton. These baskets, found in different sizes, allows you to hold the shape of the dough while fermenting.
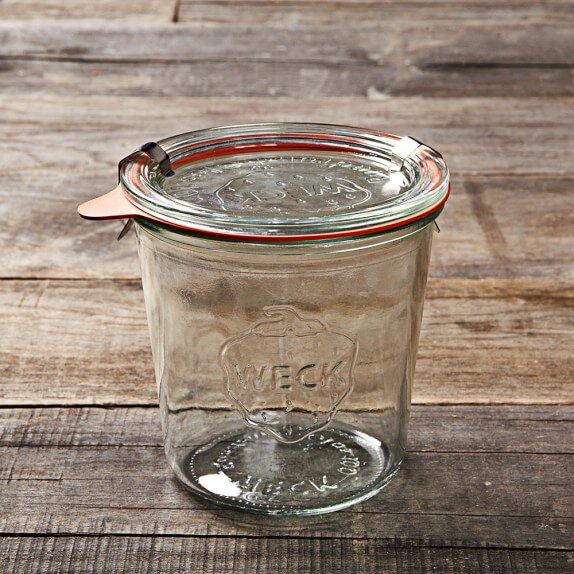
Jar for Starter
Once you make your starter, you’ll start to feel like you have a pet that you have to take care of daily. A jar, such as this, is ideal to keep it on your kitchen counter as a reminder.
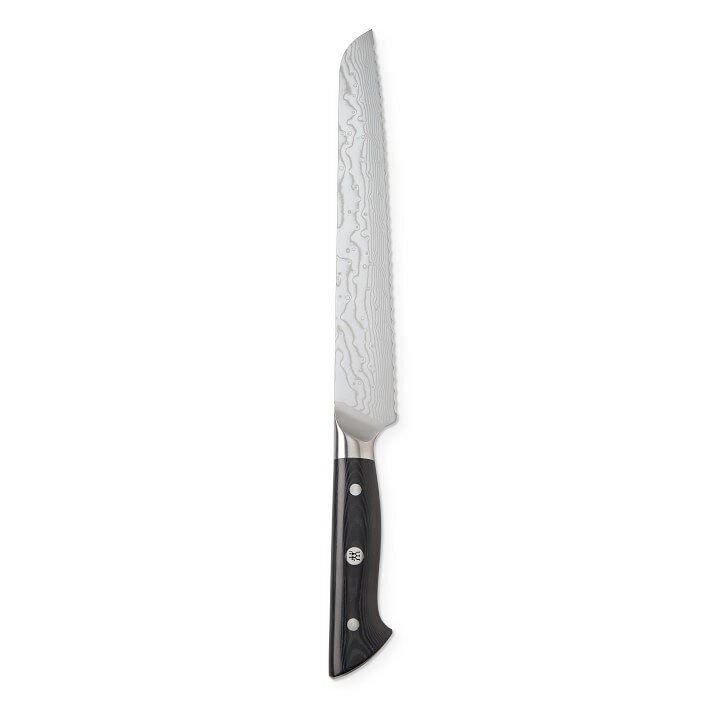
BREAD KNIFE
You’ve put so much time and effort into your bread, now you need a great knife to cut through the loaves.

FLOUR MILL
Up your bread game my grinding your own flour. This allows you to select heritage grains that may not be available at the market.

Bench Scraper
This multi-functional tool allows you to mold and cut the dough as almost an extention of your hand.
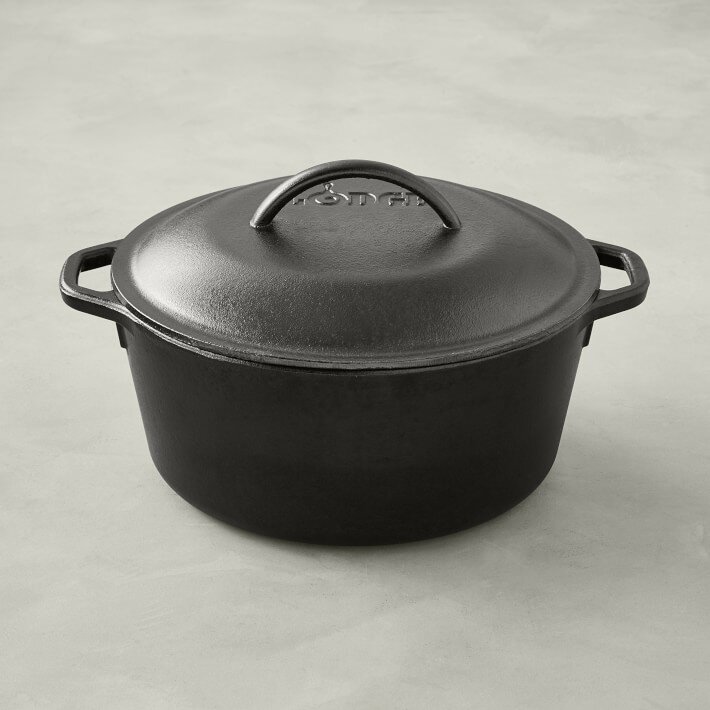
Cast Iron Dutch Oven
The Dutch oven grants home bakers the same result as at a bakery, without having to invest in a steam oven. The larger the pot, the more versatile the shaping can be.

Marble Board
Similar to a wood board, the marble option is versatile—you can use it in a variety of ways like rolling out dough for pies—option for shaping bread.
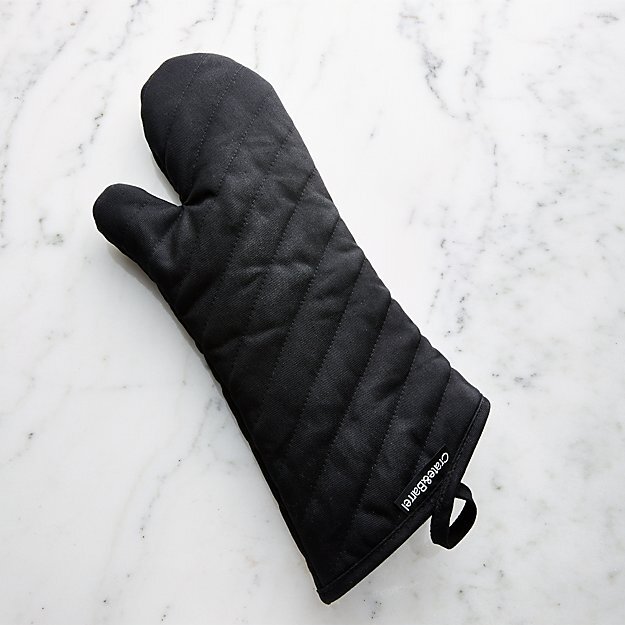
Heavy Duty Baking Mitt
Working with a hot Dutch oven requires extra heat protection. Investing in a high-quality baking mitt ensures that you won’t get burned—speaking from personal experience—while handling.
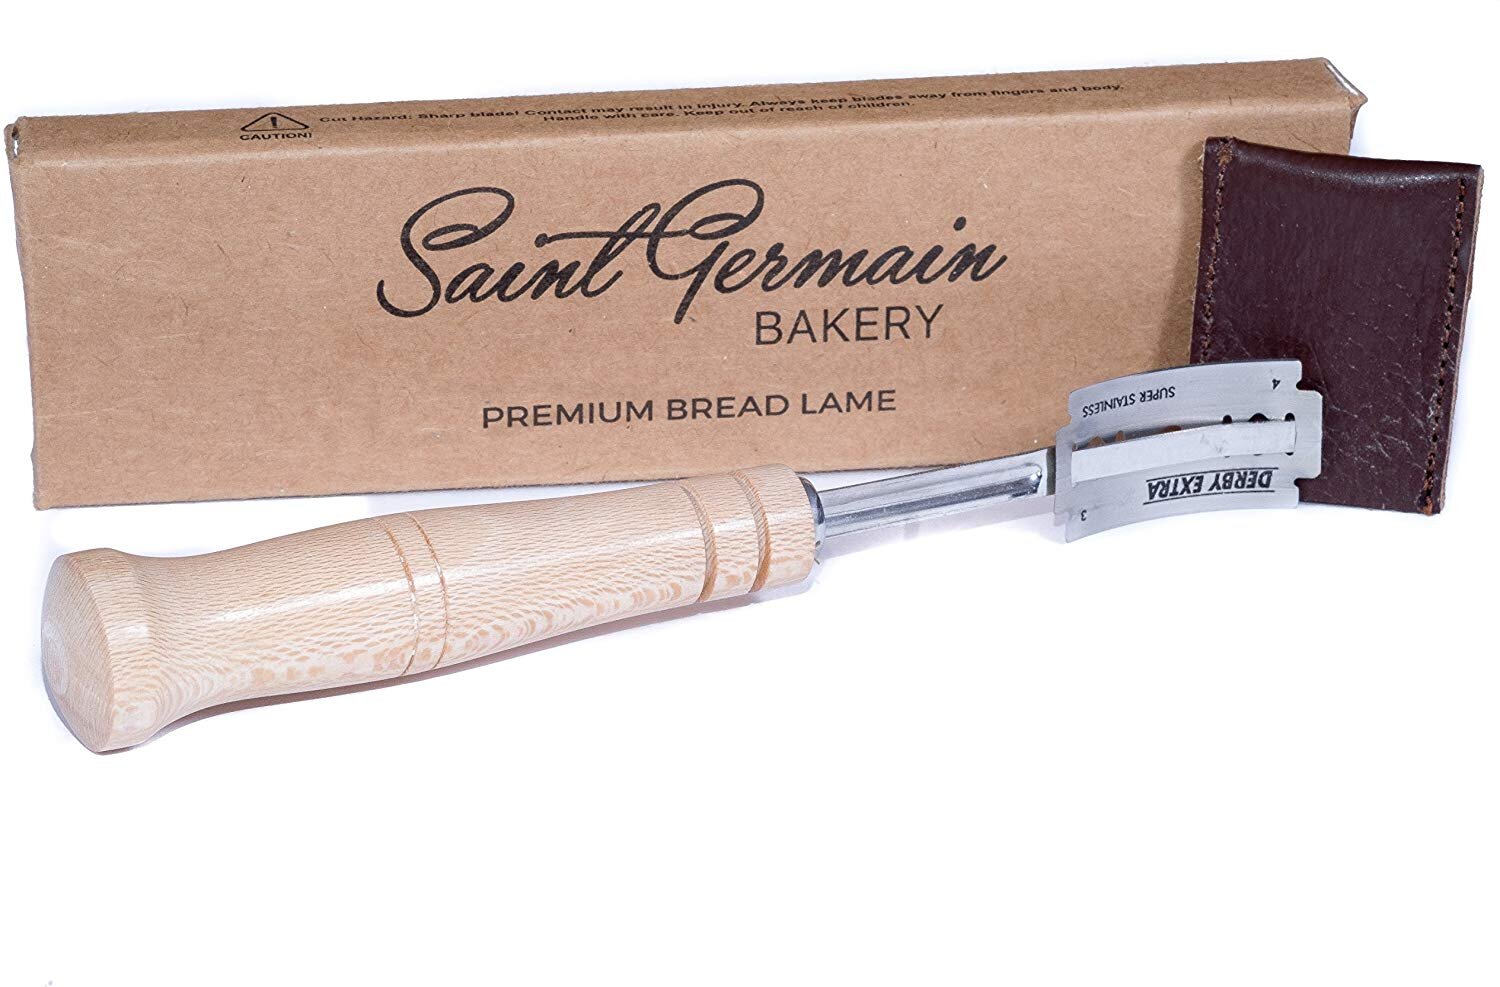
Lame
Score your bread like a professional by purchasing a lame, or sharp blade that allows you to leave any type of shape in the dough. You can also use a single replacement razor blade.
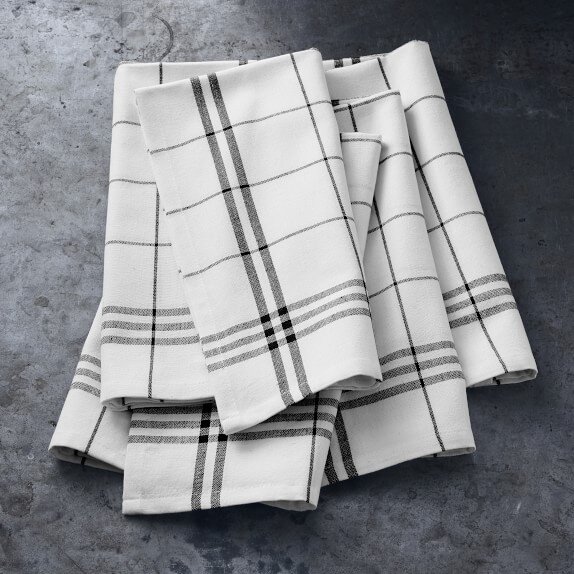
Towels
Keeping kitchen towels on hand to cover your dough is another essential part to ensure that your dough doesn’t dry out.

COOLING RACK
As tempting as it might be to cut into your bread when it is warm, it’s best to let rest for at least an hour to prevent any gumminess.

STRAINER
Once you grind your flour, it most likely will need to be sifted, just in case any pieces did not get finely milled.