
Adventures in Bread Making | The Struggles & The Triumphs

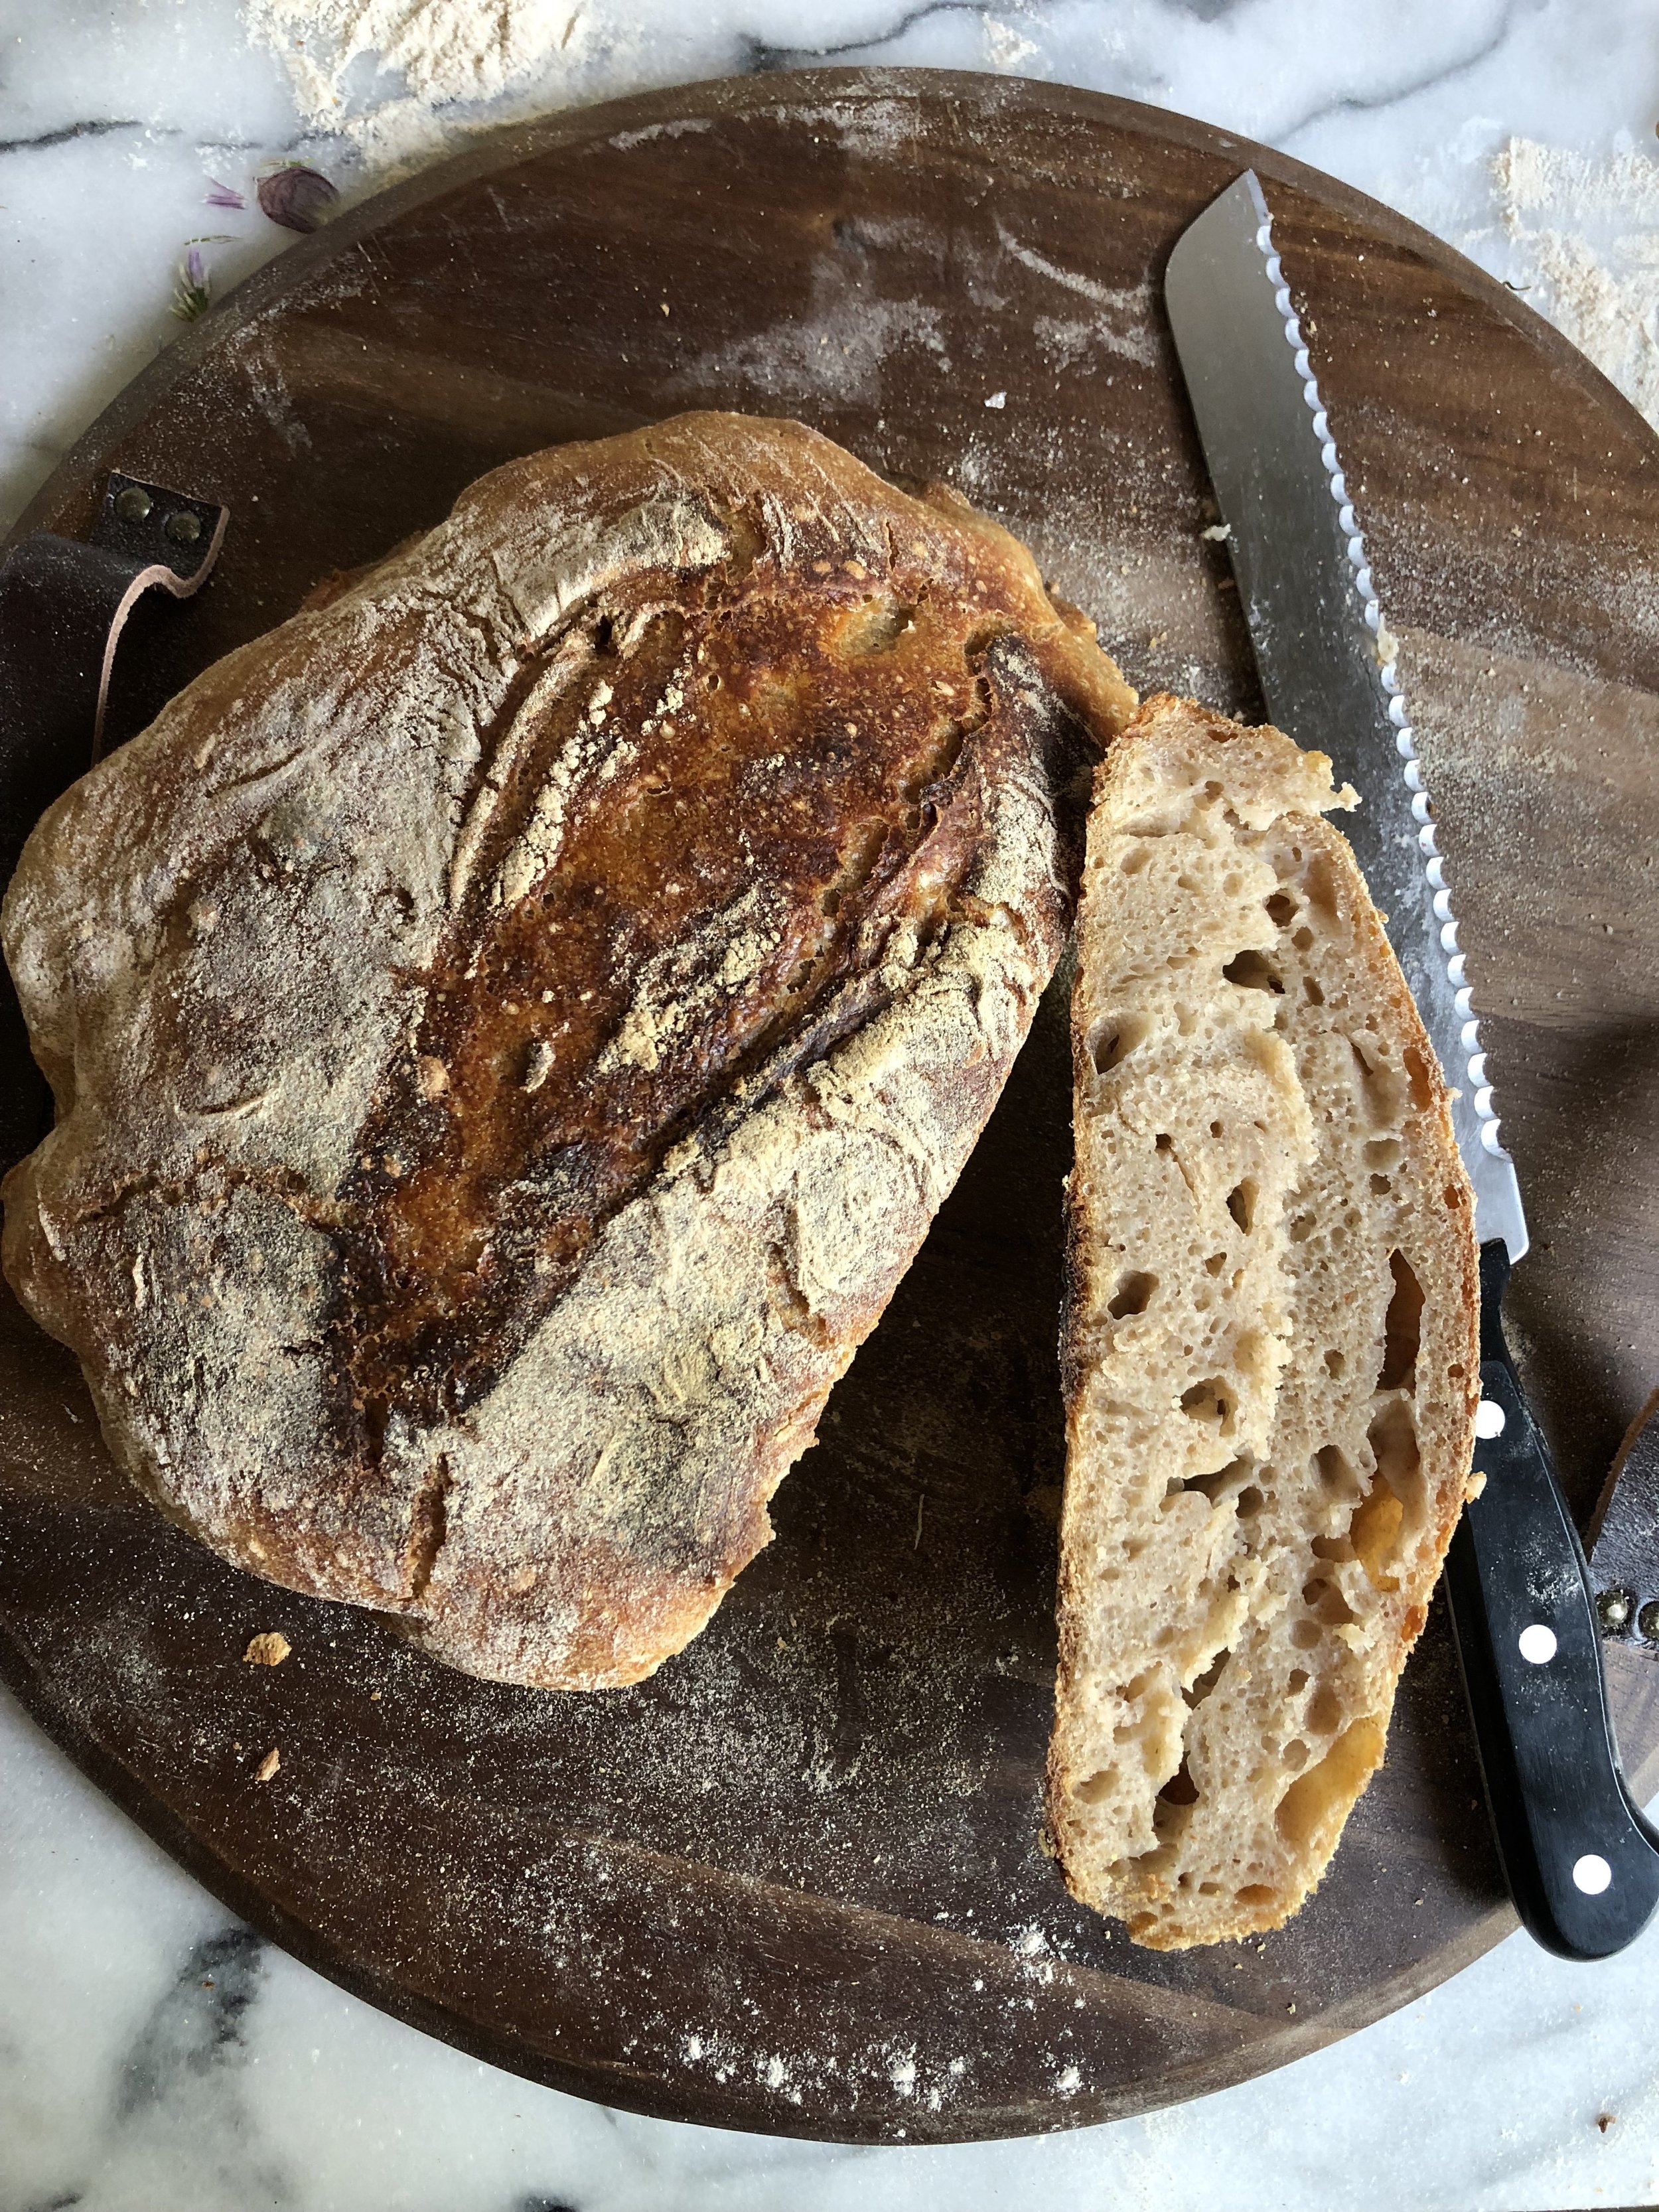
A freshly baked loaf that took three days to make.
Bread making is quite the adventure. Any baker, new or experienced, who starts on the journey of making bread is in for a ride. I started making bread last summer and what I learned is that first and foremost, baking bread is a science and secondly, there are so many variables that can create different results—humidity, flour quality, ovens, etc. Now is the time where everyone is trying to learn the process and even though I’ve been making bread for almost nine months, I am still learning. I’ve learned that if I wanted to sell one of these loaves, I could charge like $100 since it took three days to make two loaves! Here is a diary of the good, bad, the triumphs and the failures of baking sourdough bread.
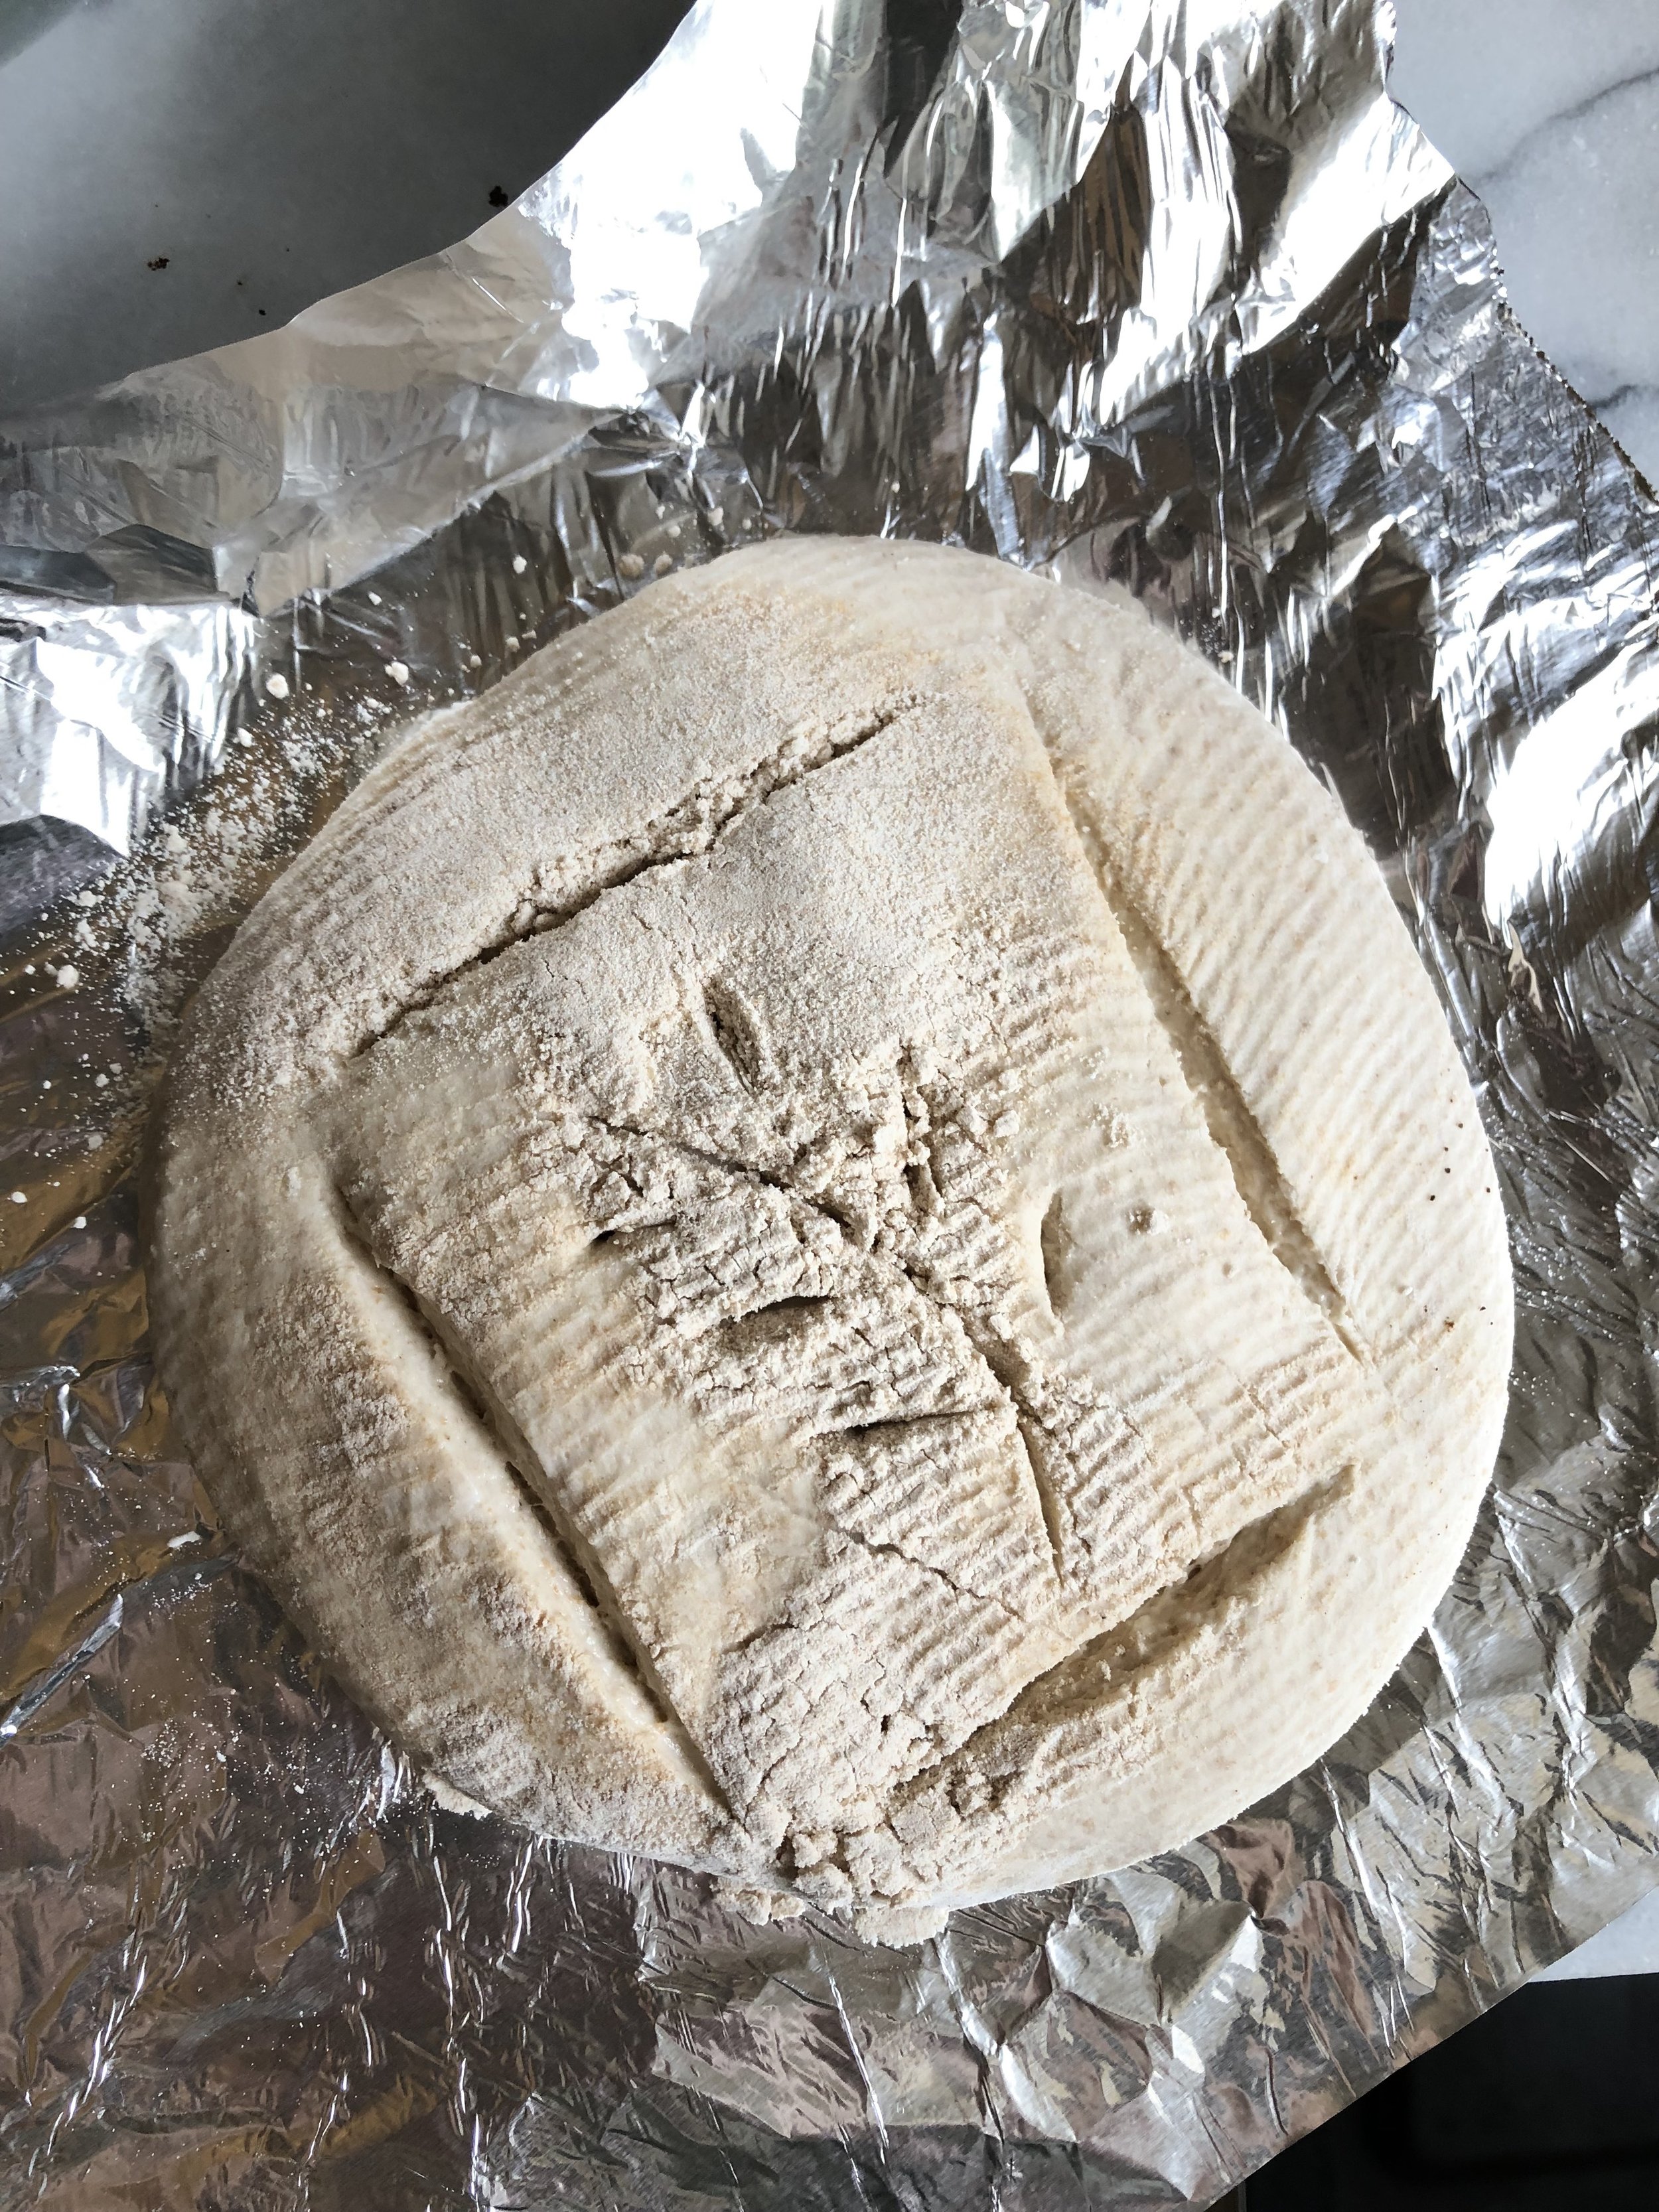
Loaf 1 & 2
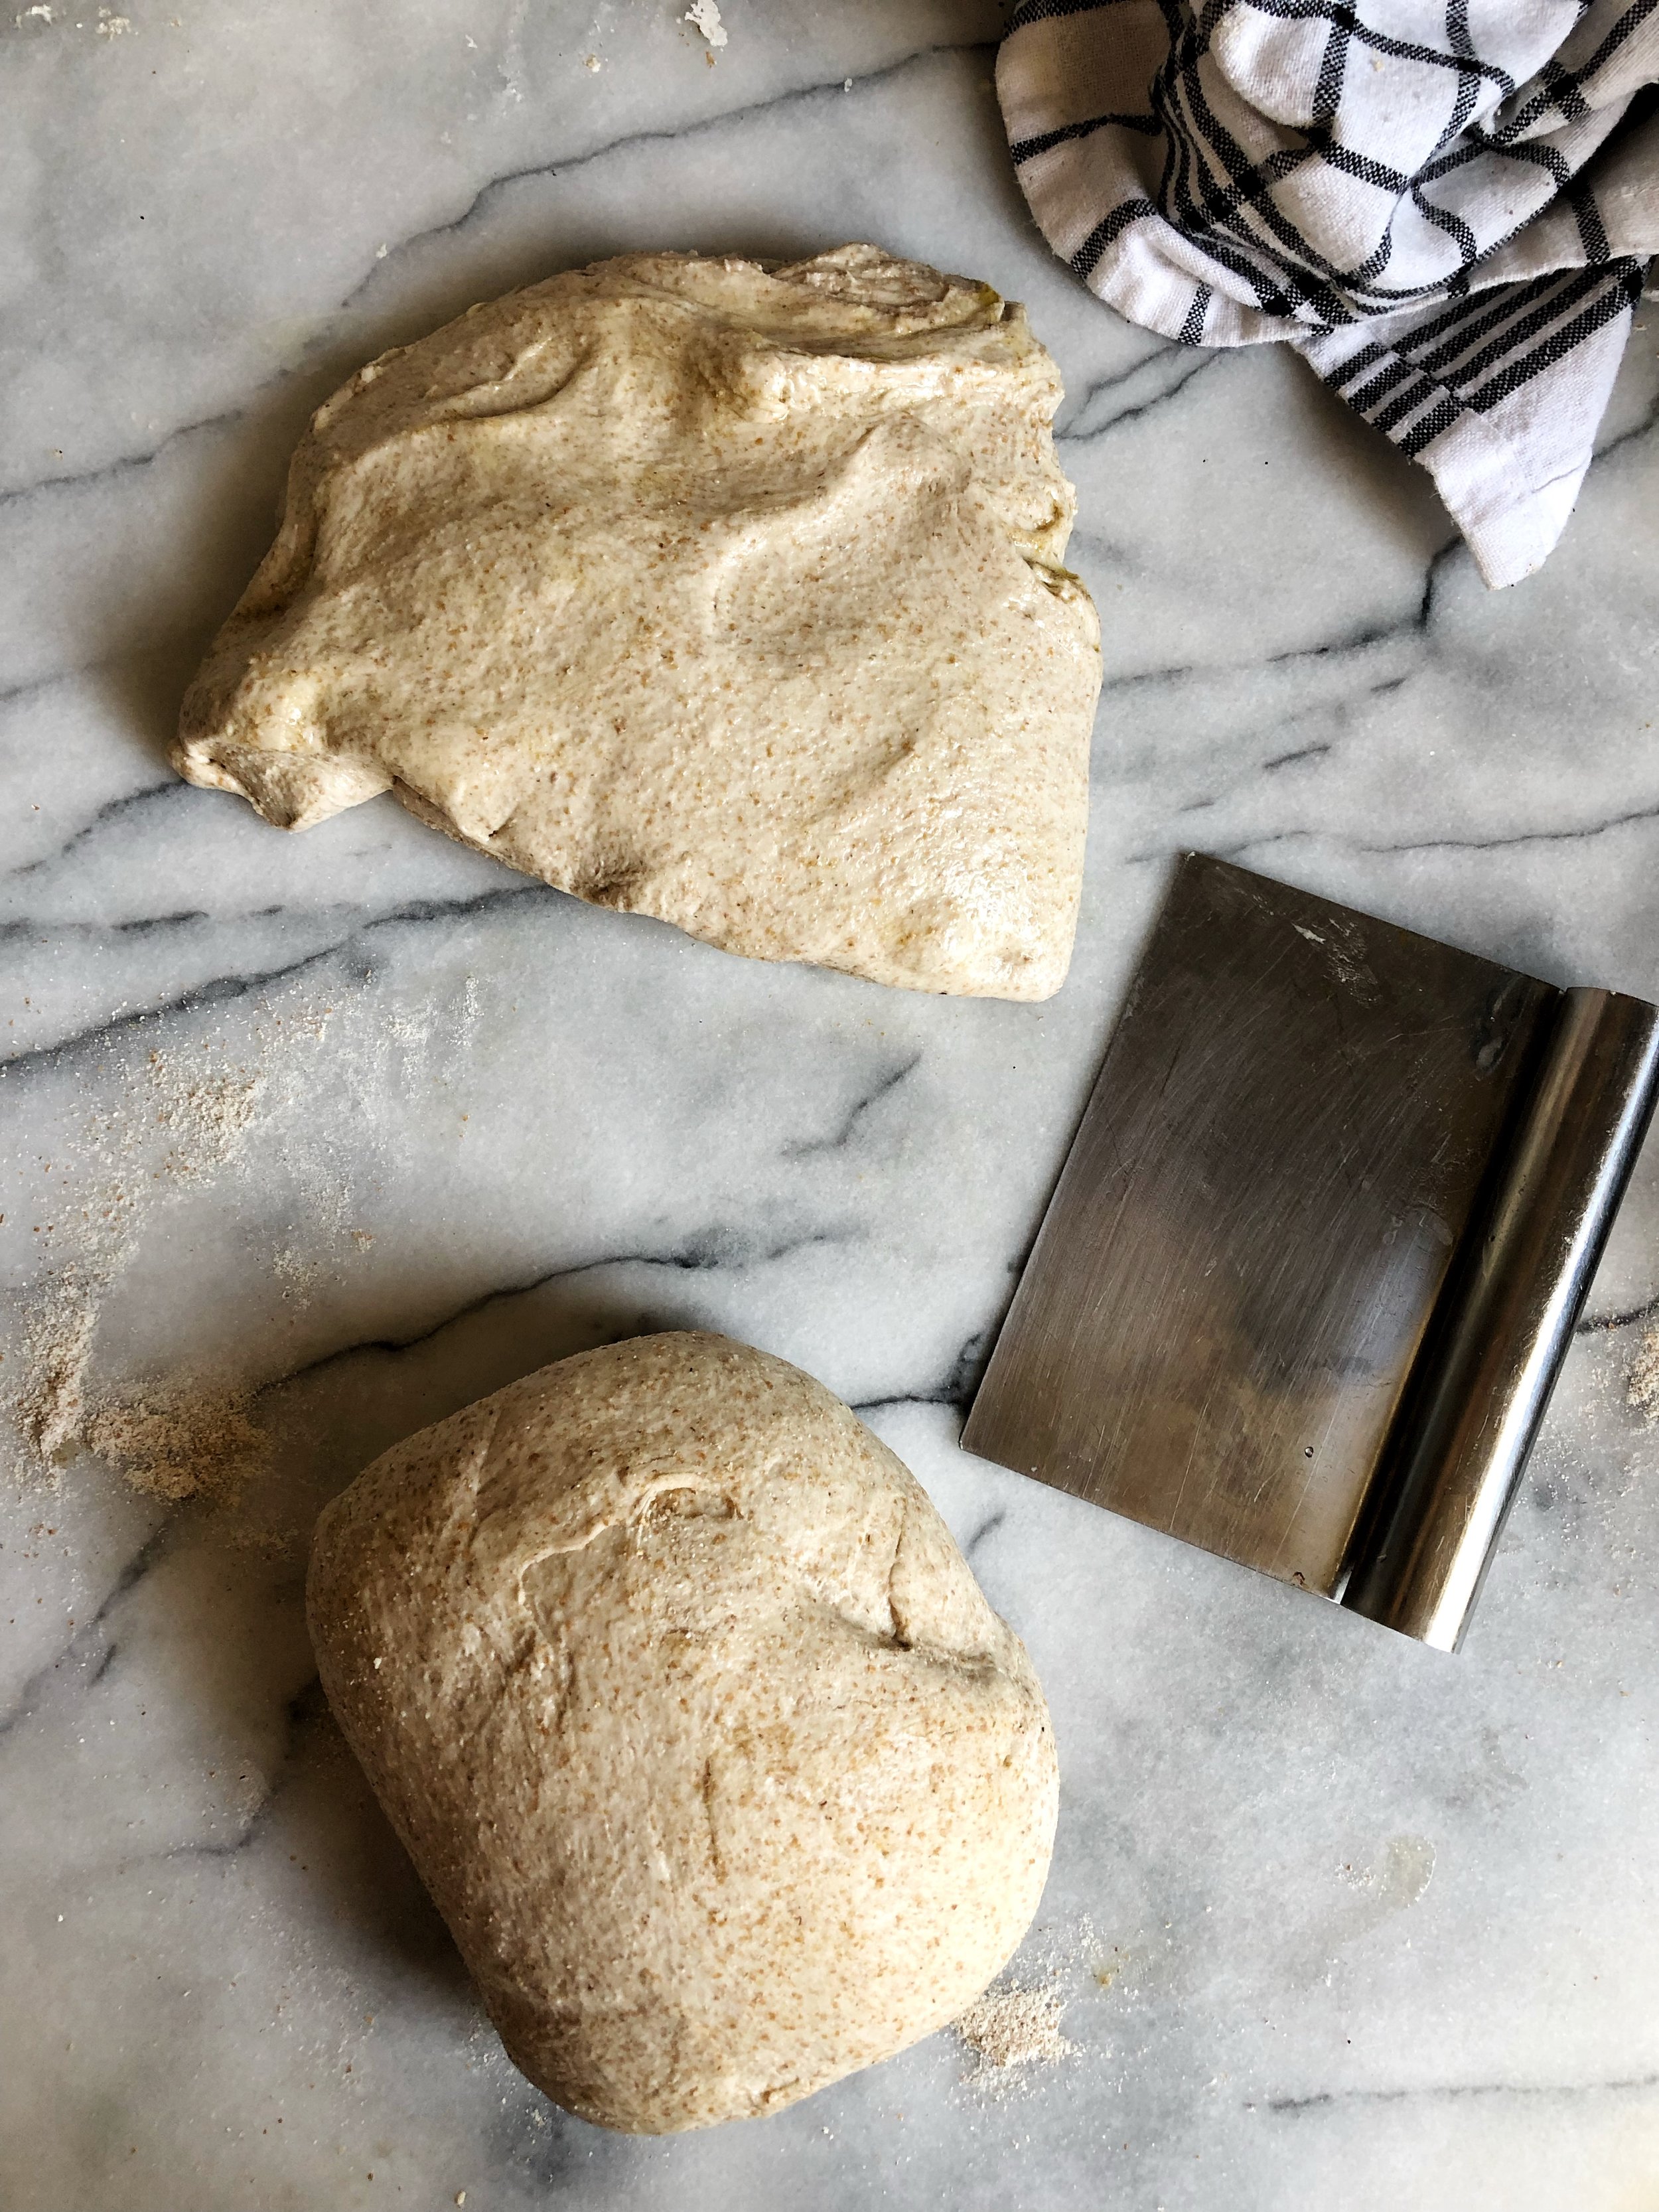
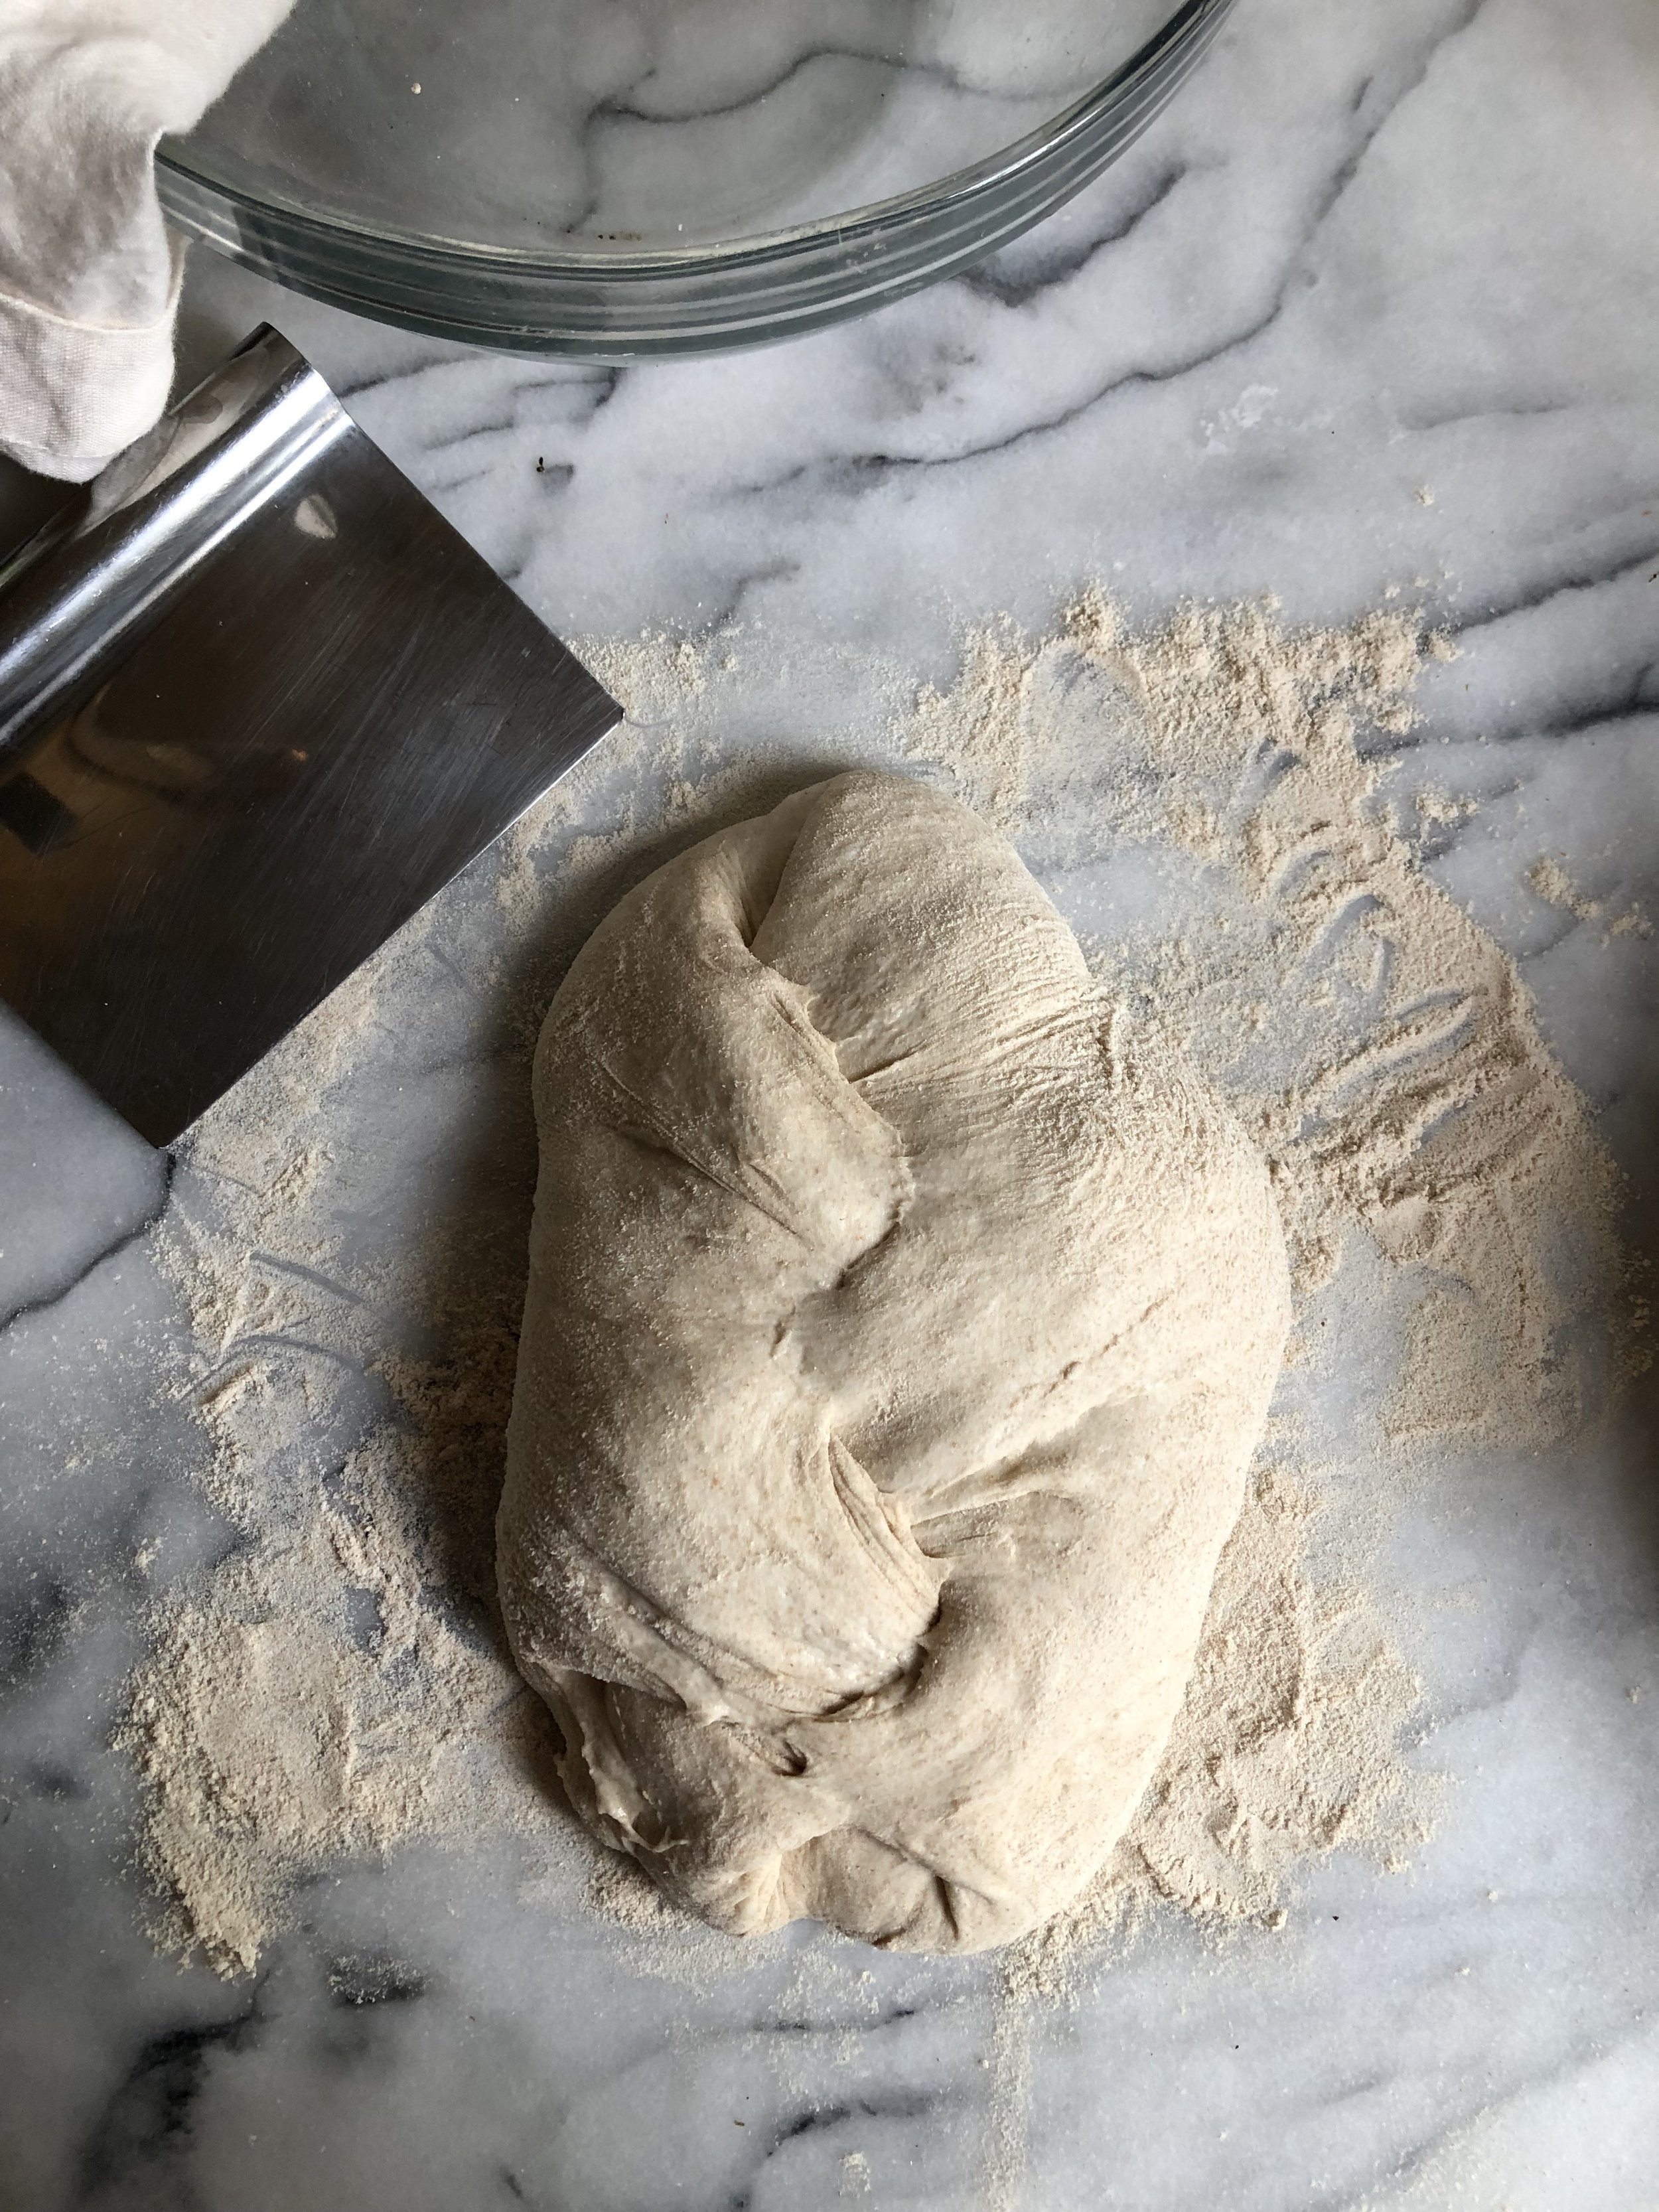
The dough was super sticky. My first issue might be that I used cups versus grams. I added about ½ cup more of my stone ground whole wheat flour because it was nearly impossible to need. I realized I didn’t do as many folds as I should have over the extended period of time advised and reversed the cold fermenting with the warm.
Flavor: Definitely not enough salt; but it was chewy with many air pockets.
Looks: It was too flat, like a large pita, but with a great crust.
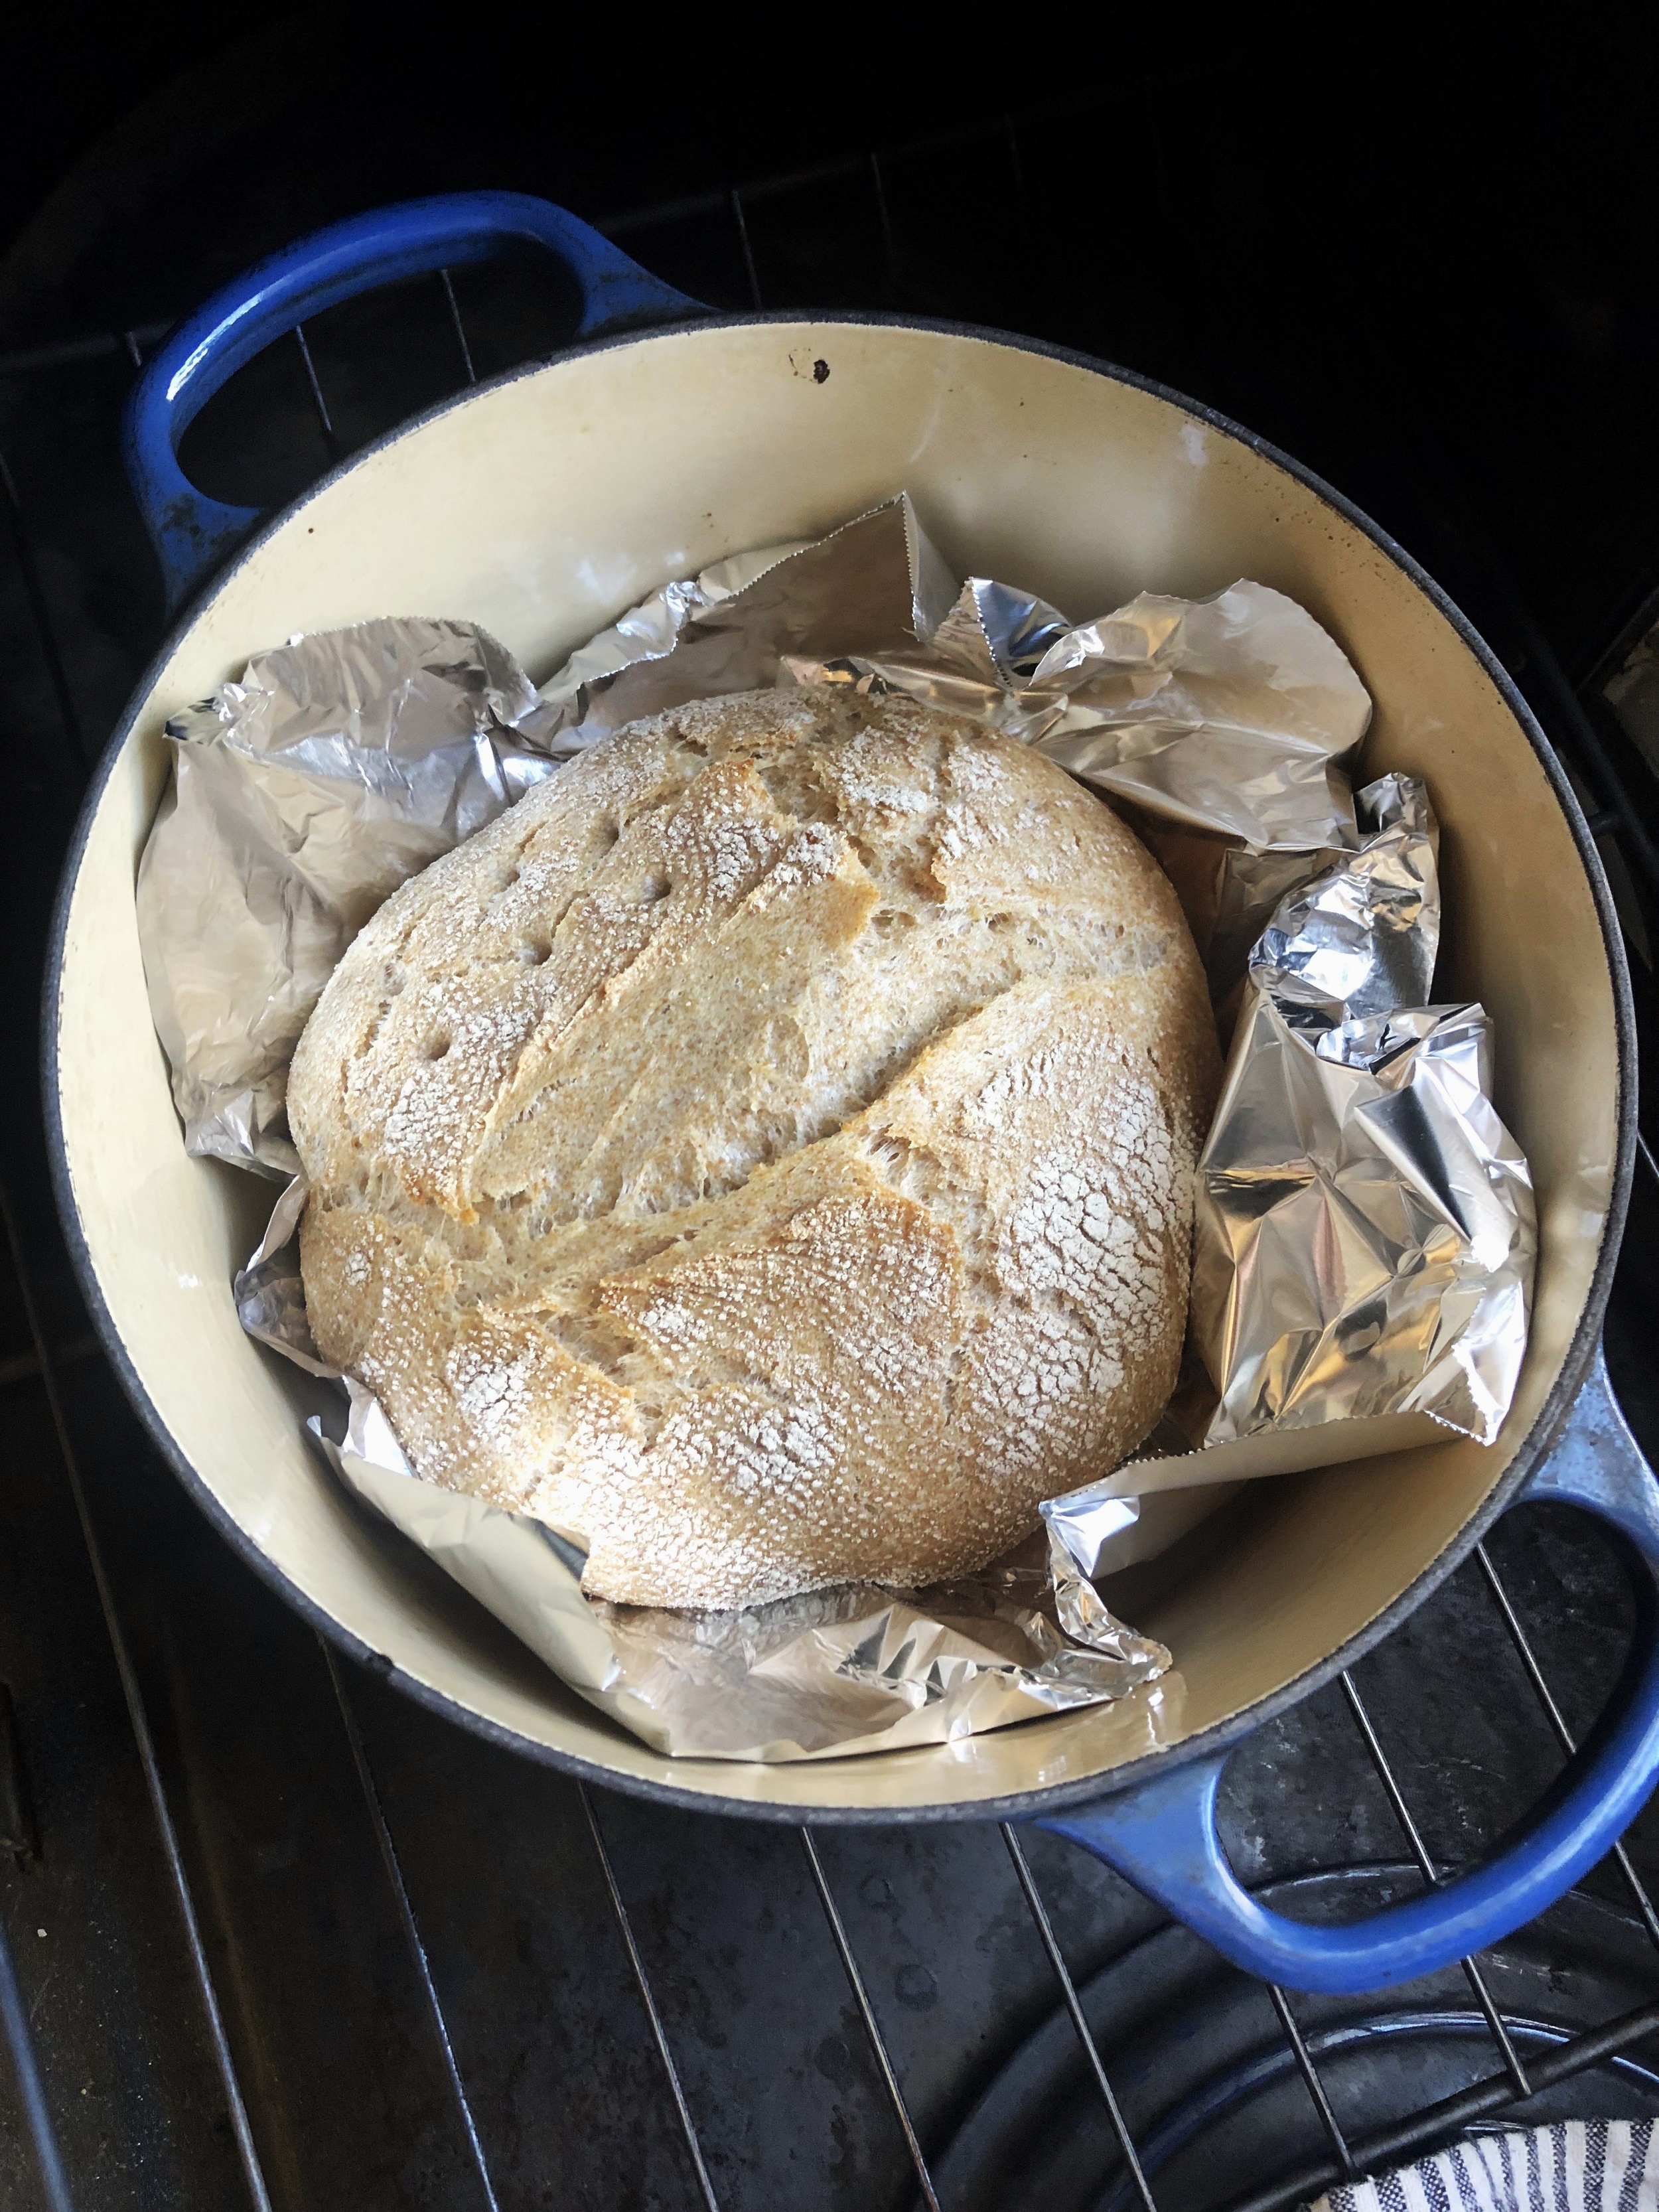
Conclusions: I think I should purchase a scale; I need to add more salt and follow the instructions better! Plus, I need parchment paper, hence the foil.
Loaf 3 & 4
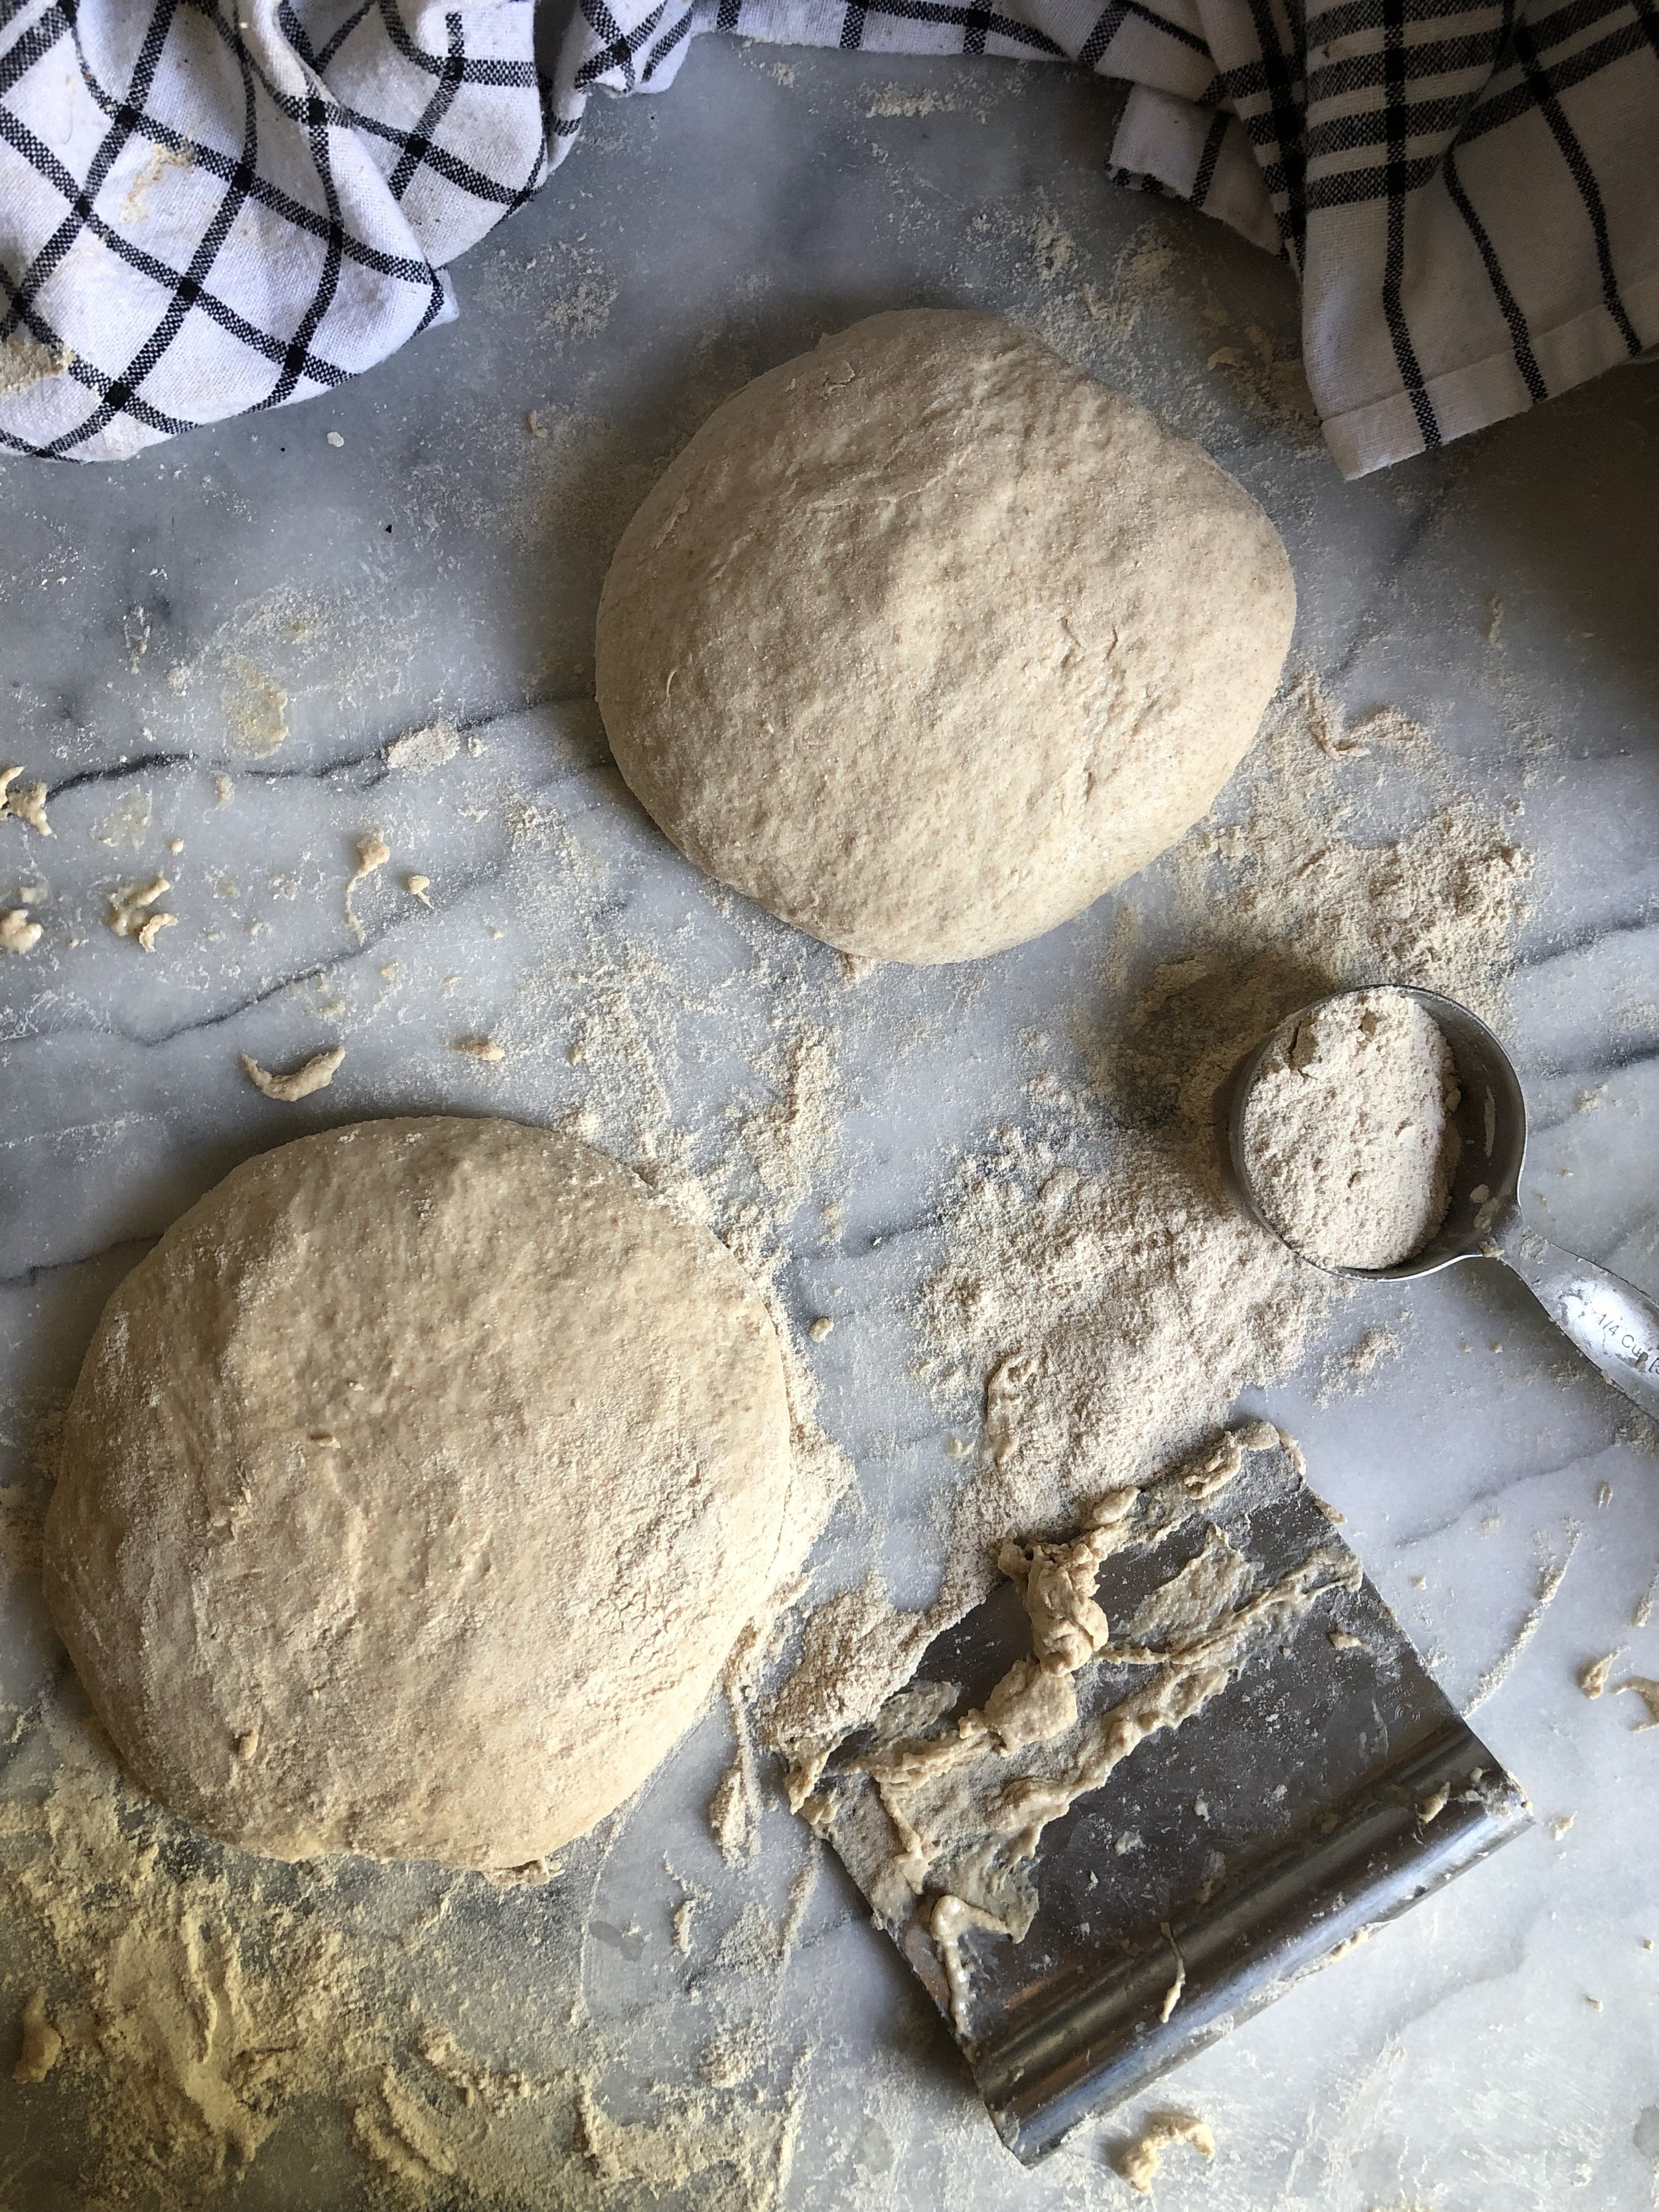
I was feeling much more confident with this loaf, although I still didn't purchase a scale. I swapped hearty stone ground wheat for white bread flour using the same rye starter. During my bulk fermentation I had noticeably more air pockets but the dough was still sticky, but it felt much more stretchy and I thought it was okay. I did turns with the doigh for 3.5 hours every 30 minutes. But again, when it came time to shape it it was entirely too sticky, so I ended up adding about a cup more bread flour to each loaf. Disclaimer my husband was talking to me while I did my initial measurement and might have added too little. The result? The loaves were again too flat—one was a bit puffier but not by much.
The flavor: Very good! The salt ratio was much better and it had a great sourdough flavor.
Conclusions : Pay close attention when measuring (don’t get distracted!). Maybe get a scale to ensure that I am adding the right flour to water ratio. Also, still need parchment paper!
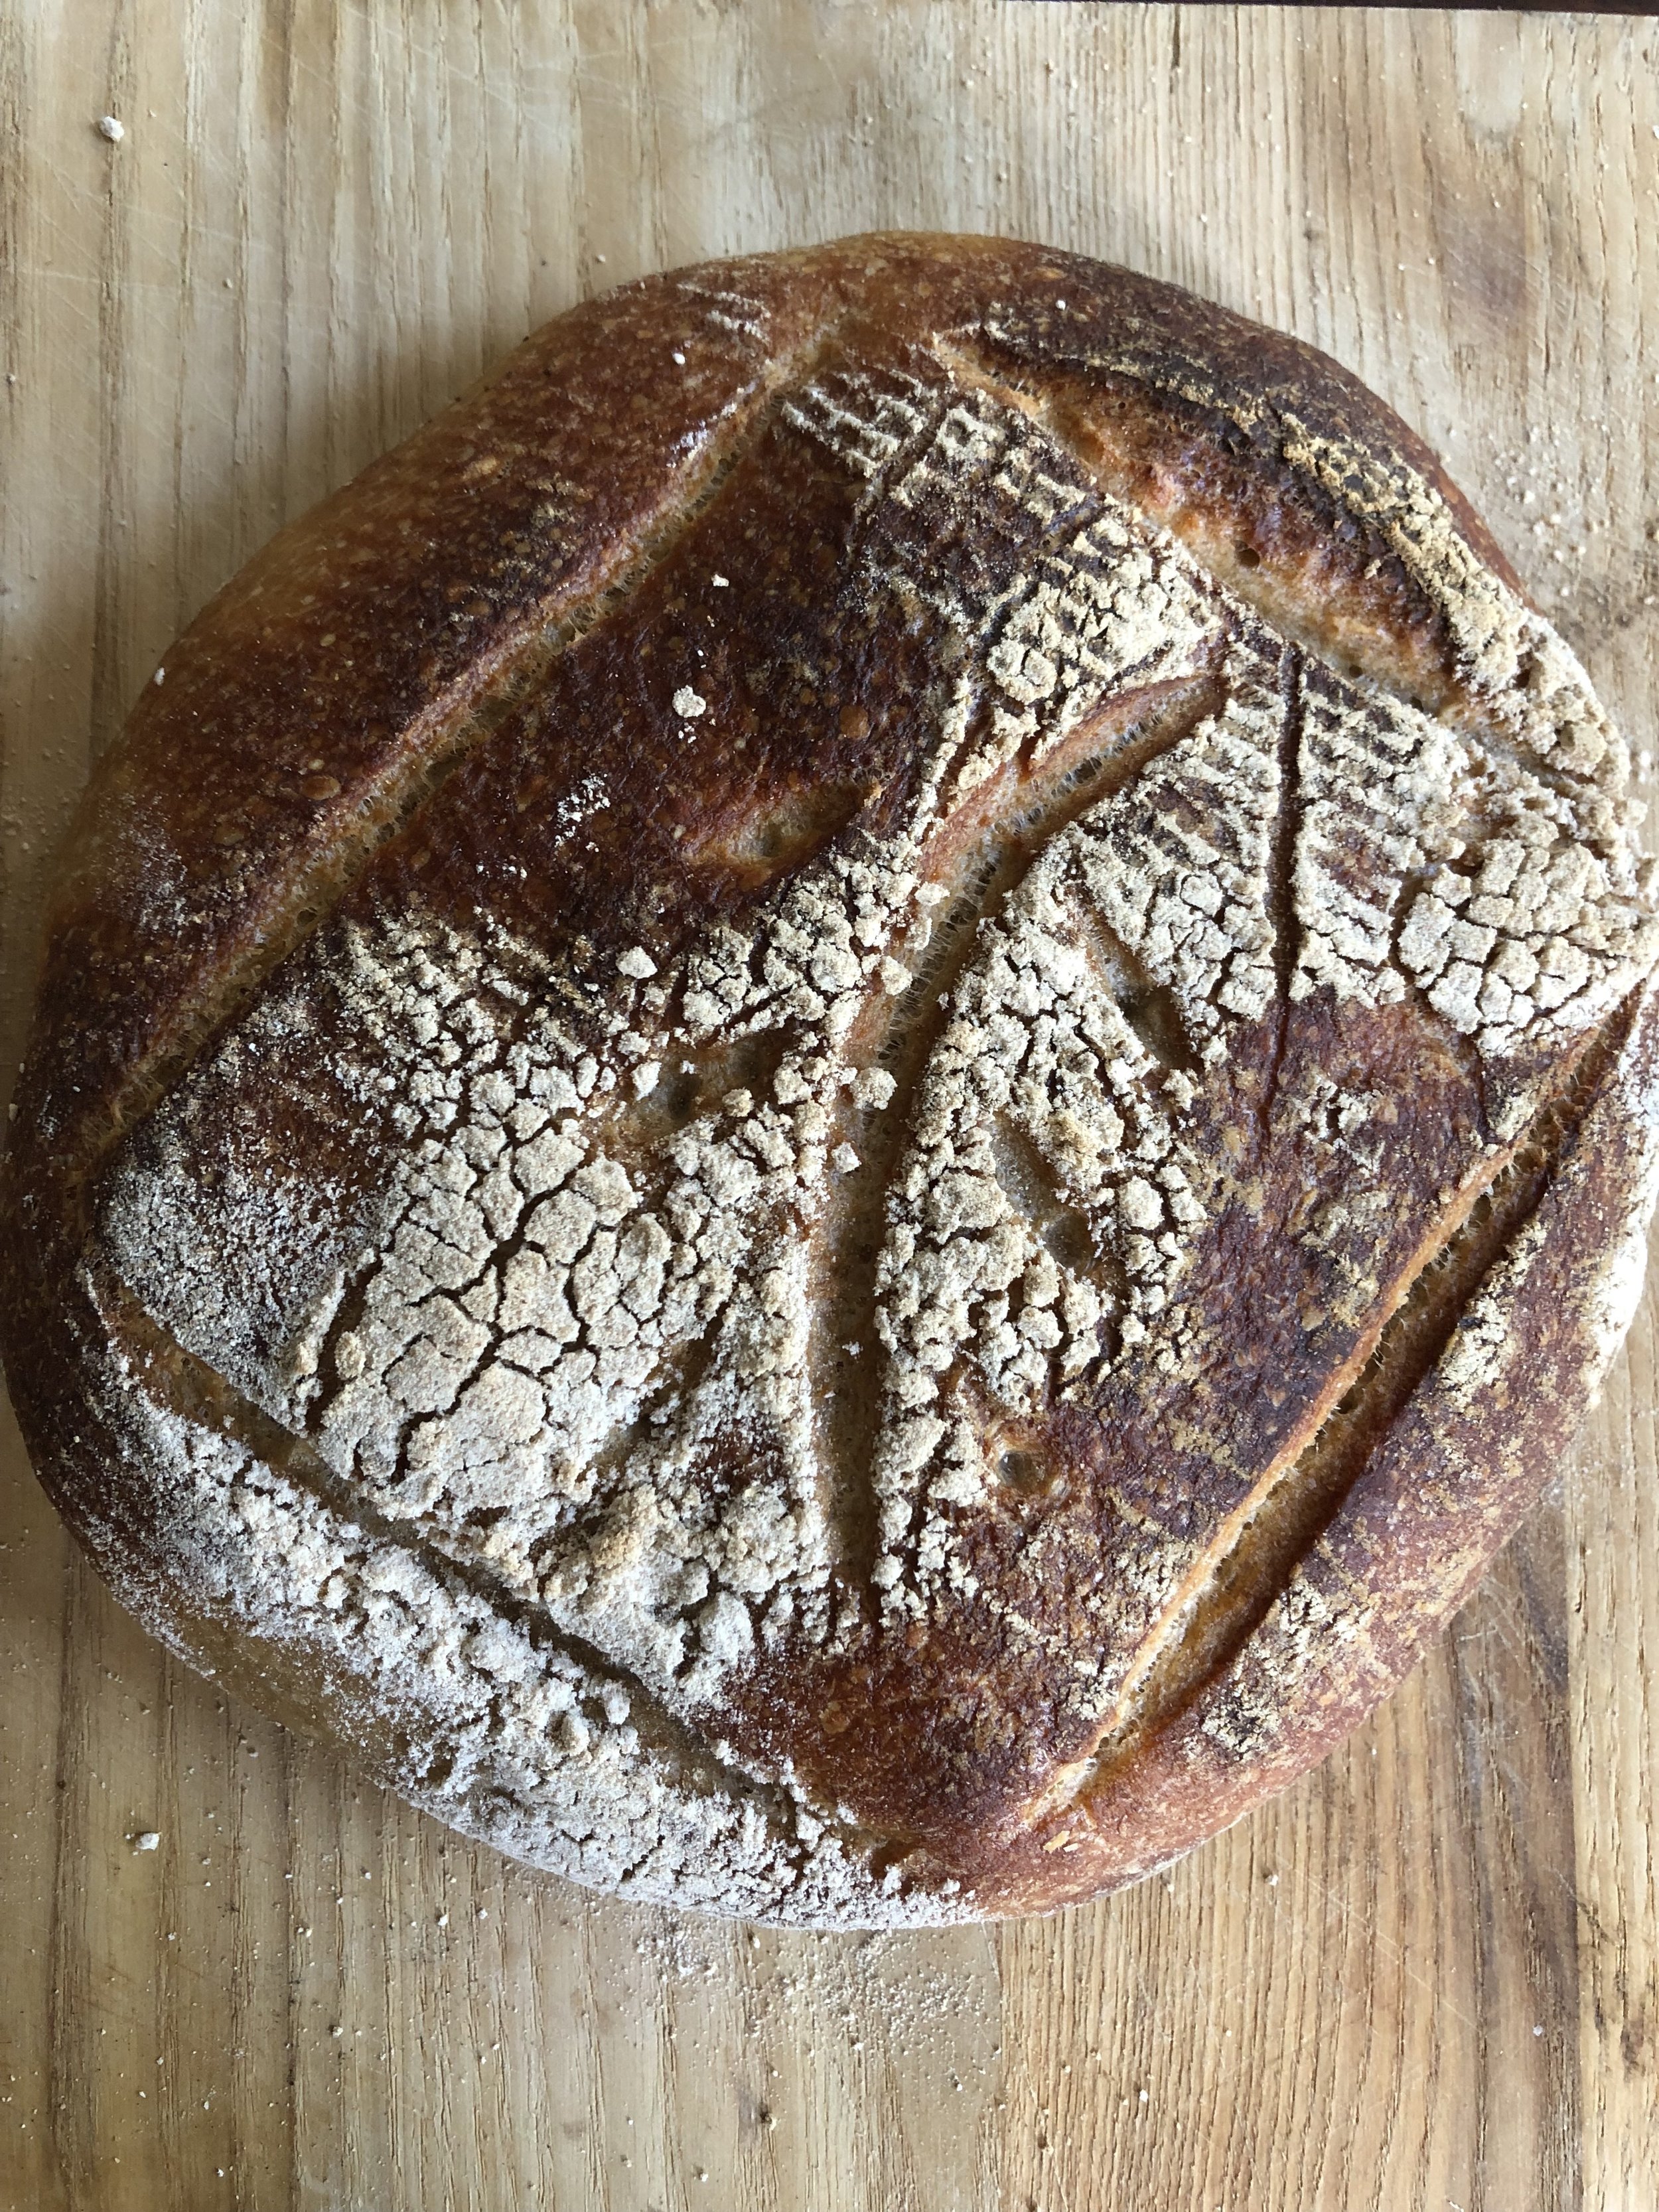
LOAF 5 & 6
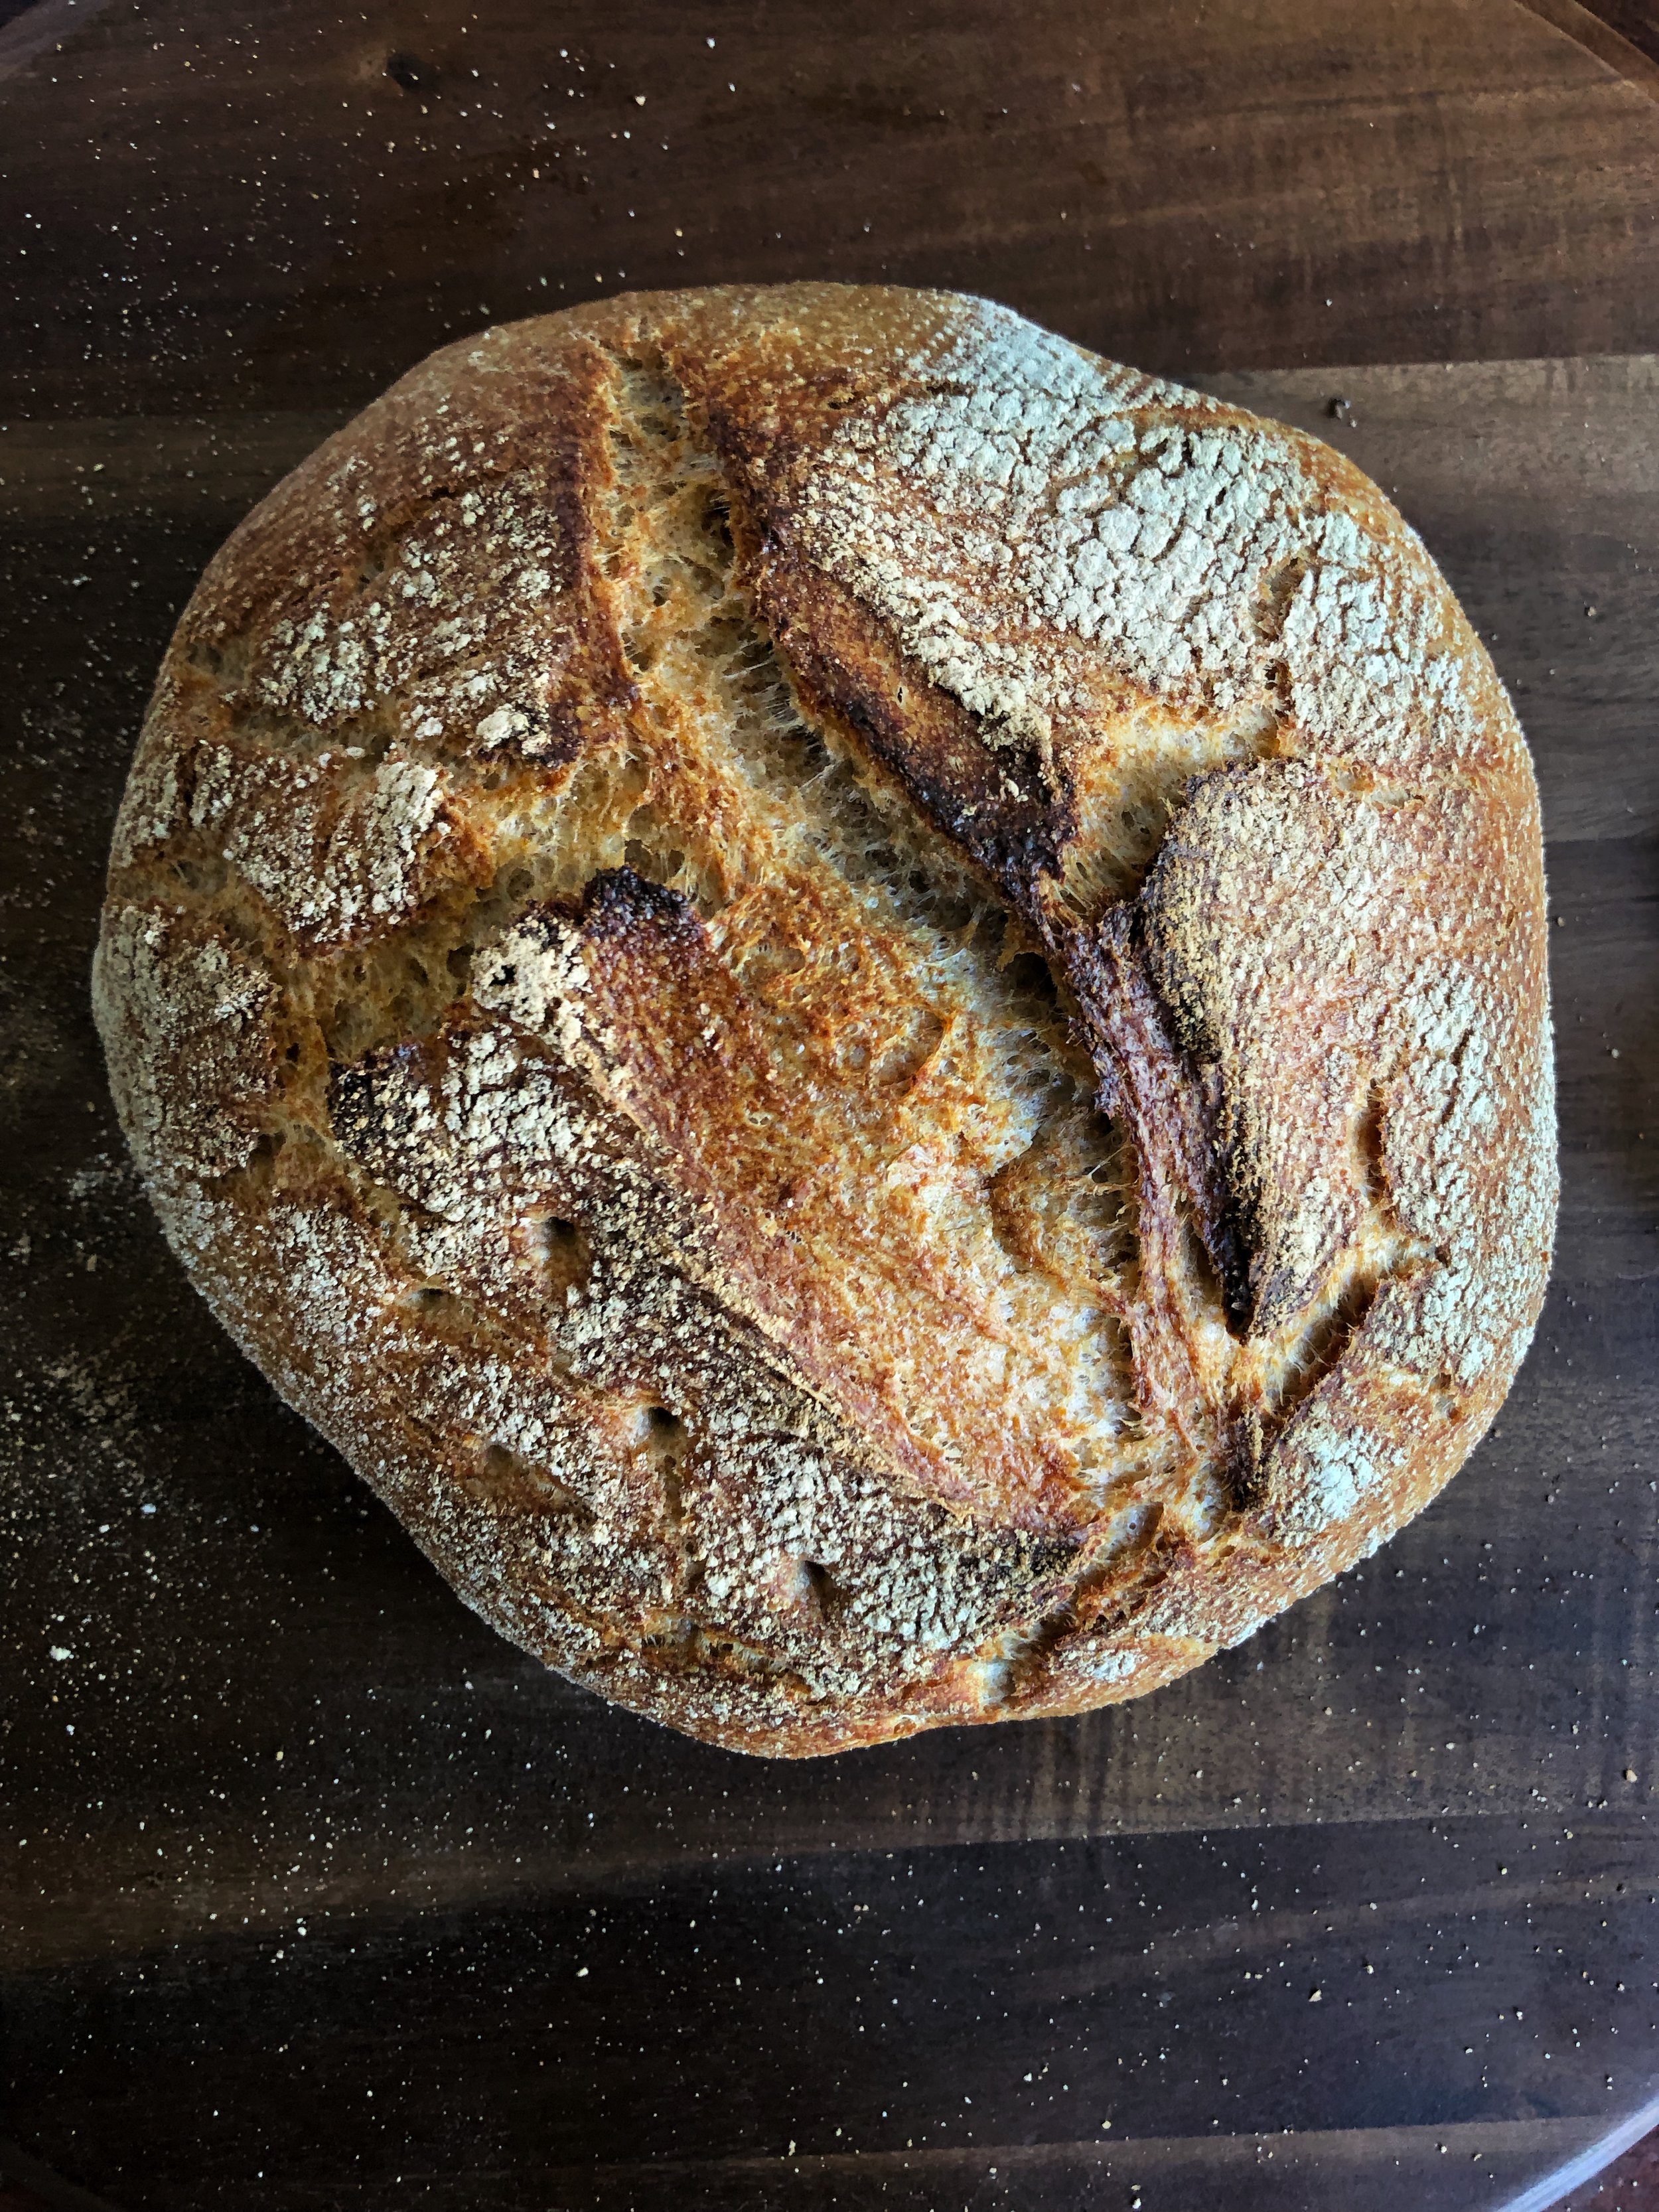
I am feeling even more confident when tackling the next two loaves. I kept feeding my rye starter but I also made a bread flour starter option. It was doing what it was supposed to be doing but a sudden day of humidity, I discovered a thick layer of mold on top. I ended throwing it out. Fail! I made sure to not talk while measuring flour this time, I also didn’t discard the leaven as directed. Rather I kept and added the remaining ingredients as directed. I noticed the dough, while turning it was much more aerated. Air bubbles were obvious, wahoo! I didn’t turn for the full three hours as directed because life calls and I had a meeting in the middle of it. I let it set and came home to the dough increased in size. I put it in the refrigerator overnight and woke up to mega air bubbles! Could this be a victory? I’d say almost. This was definitely the best result yet. There were many more air pockets, a delicious flavor, like it was from a bakery and had a great sturdy exterior. Although I am still envisioning creating a loaf that is taller and more risen.
Conclusion: I’ve used the Tartine Country Sourdough recipe 3 times now but maybe I’m ready to try a new one? Maybe I should make one big loaf versus cutting them in two? Overall I am very pleased I just need to work on the height! Also I’d like it to be maybe to be a bit more spongy.
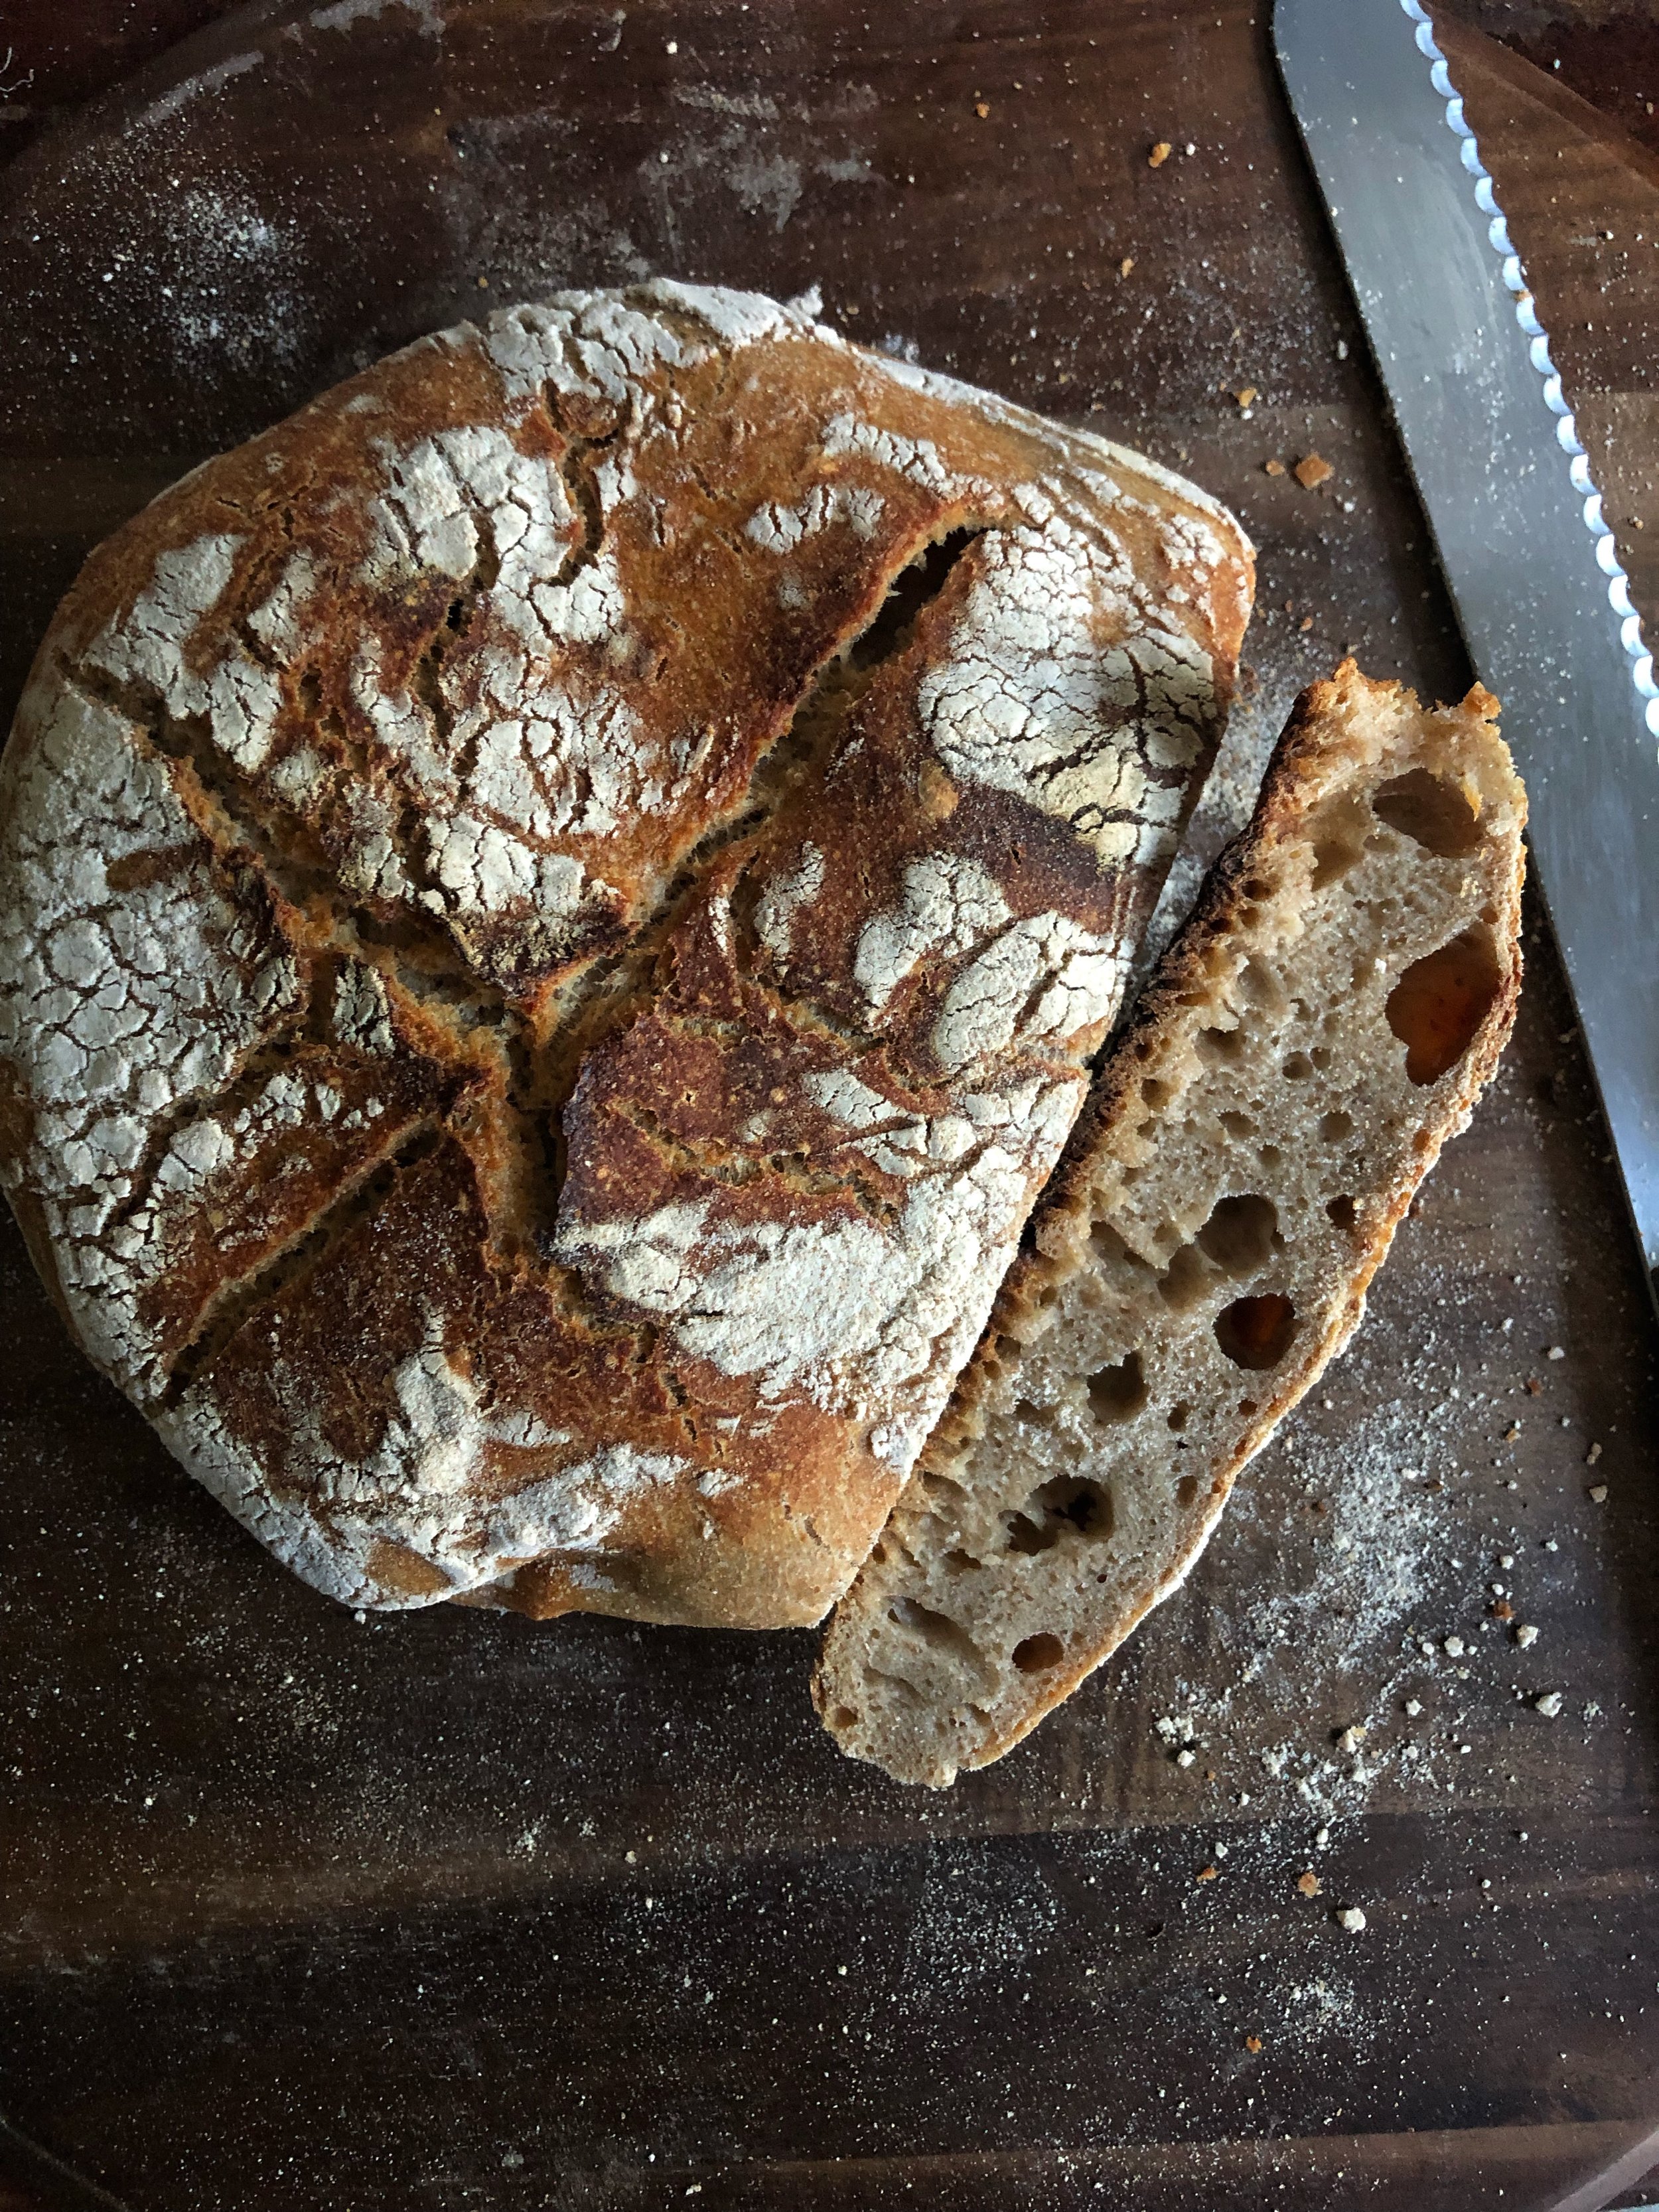
Loaf 7 & 8

At this point I’m a mad women trying to get this right. The flavor and texture are on par with other breads I’ve purchased but I’m looking to a) not have to add so much extra flour when shaping b) achieve a loaf that is larger and like the sourdough loaves that I prize and c) get that spongy effect that Nordic bread embodies. I figured, keep with the Tartine recipe but this time turn to my trusty cuisinart to knead the dough. I let the machine work it’s magic for 10 minutes after the dough was glossy and much more uniform than doing by hand, as could be expected. I wanted to get this right by doing it manually but something wasn’t working—it was too stinky and not smooth. I’ve watched countless YouTube videos about bread making and realized that some don’t do the slap and fold technique, rather they just need it until it comes together. The result this time was a silky dough that had many air bubbles. I’m excited to see where this goes!
So, after the slap and folds, the dough was almost like a slinky—kind of sticky, kind of not. I put it in the refrigerator overnight and hoped that the cold ferment would maybe change that. The next day, the cloth underneath was very moist, assuming that any liquid drained out. Still like a ‘slinky’ I molded it into shape—it wasn’t so sticky—then put into the hot cast iron pan.
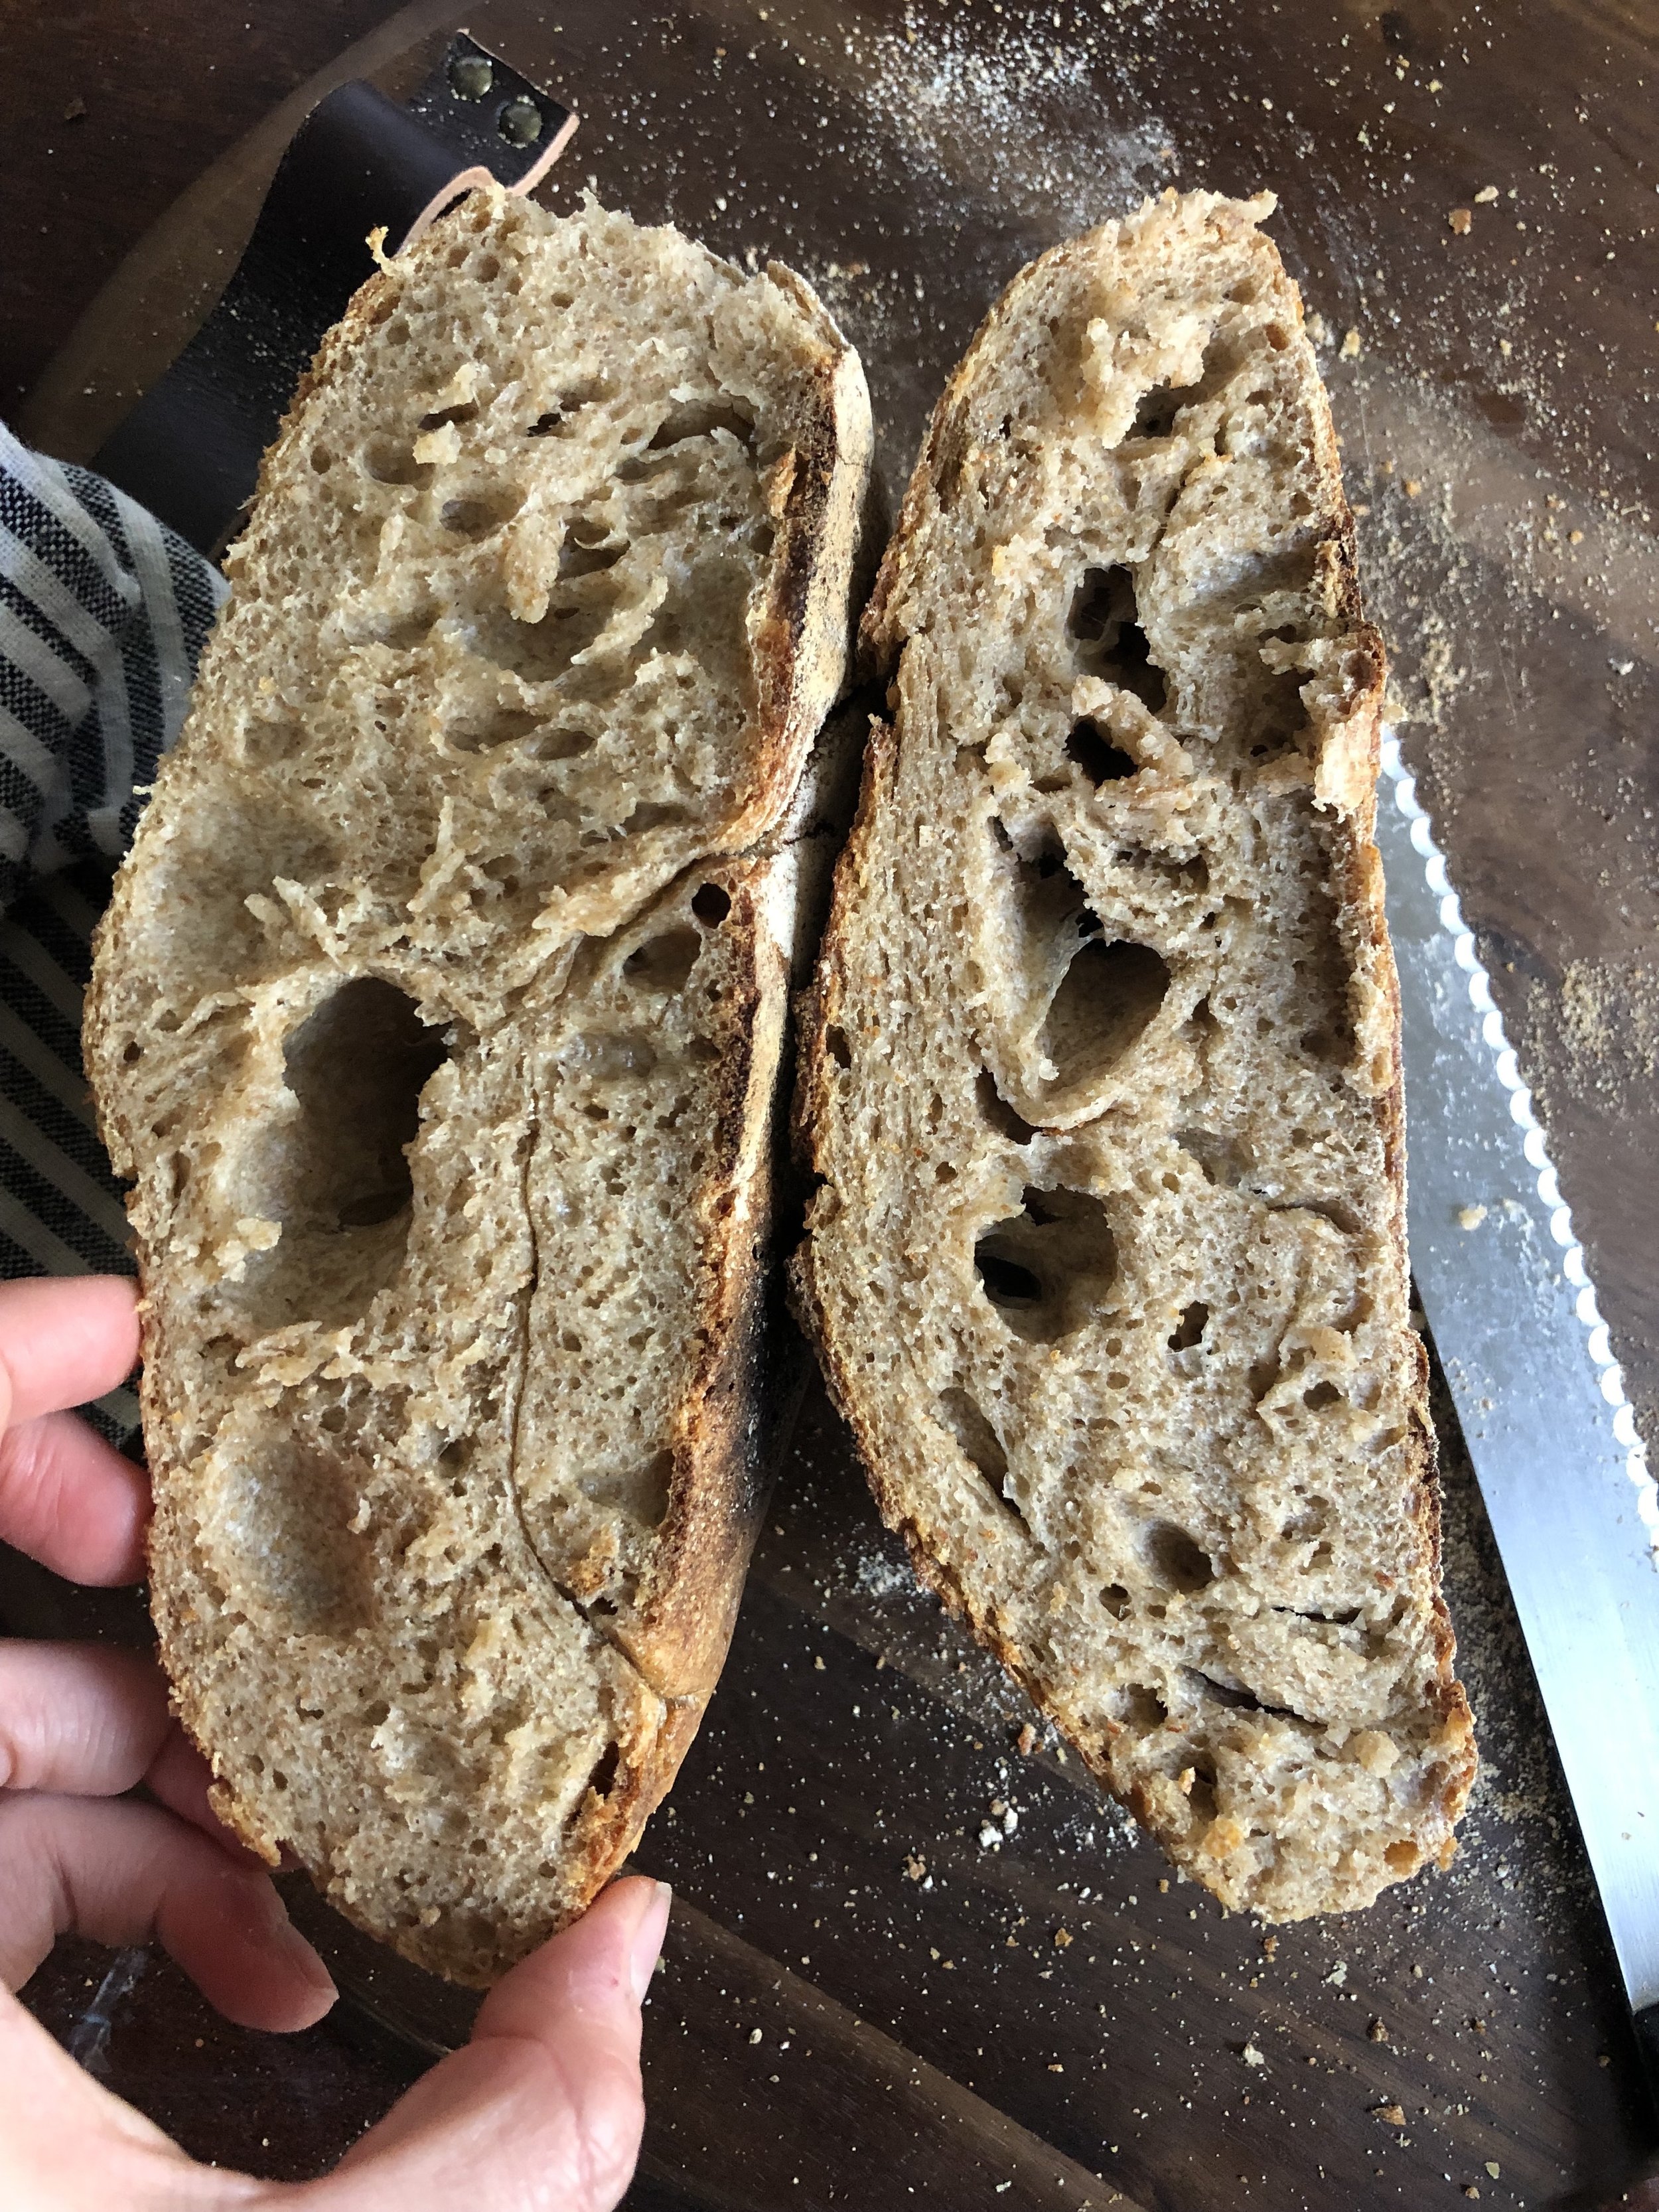
Alas, I had a loaf that was larger! I think that was the key to not divide them in half.
Conclusion: The interior was spongy—maybe too much—and the sourdough flavor was more intense—maybe too intense? Overall, a much better result with this recipe. Now, I am going to move on to another recipe.
LOAF 9 & 10

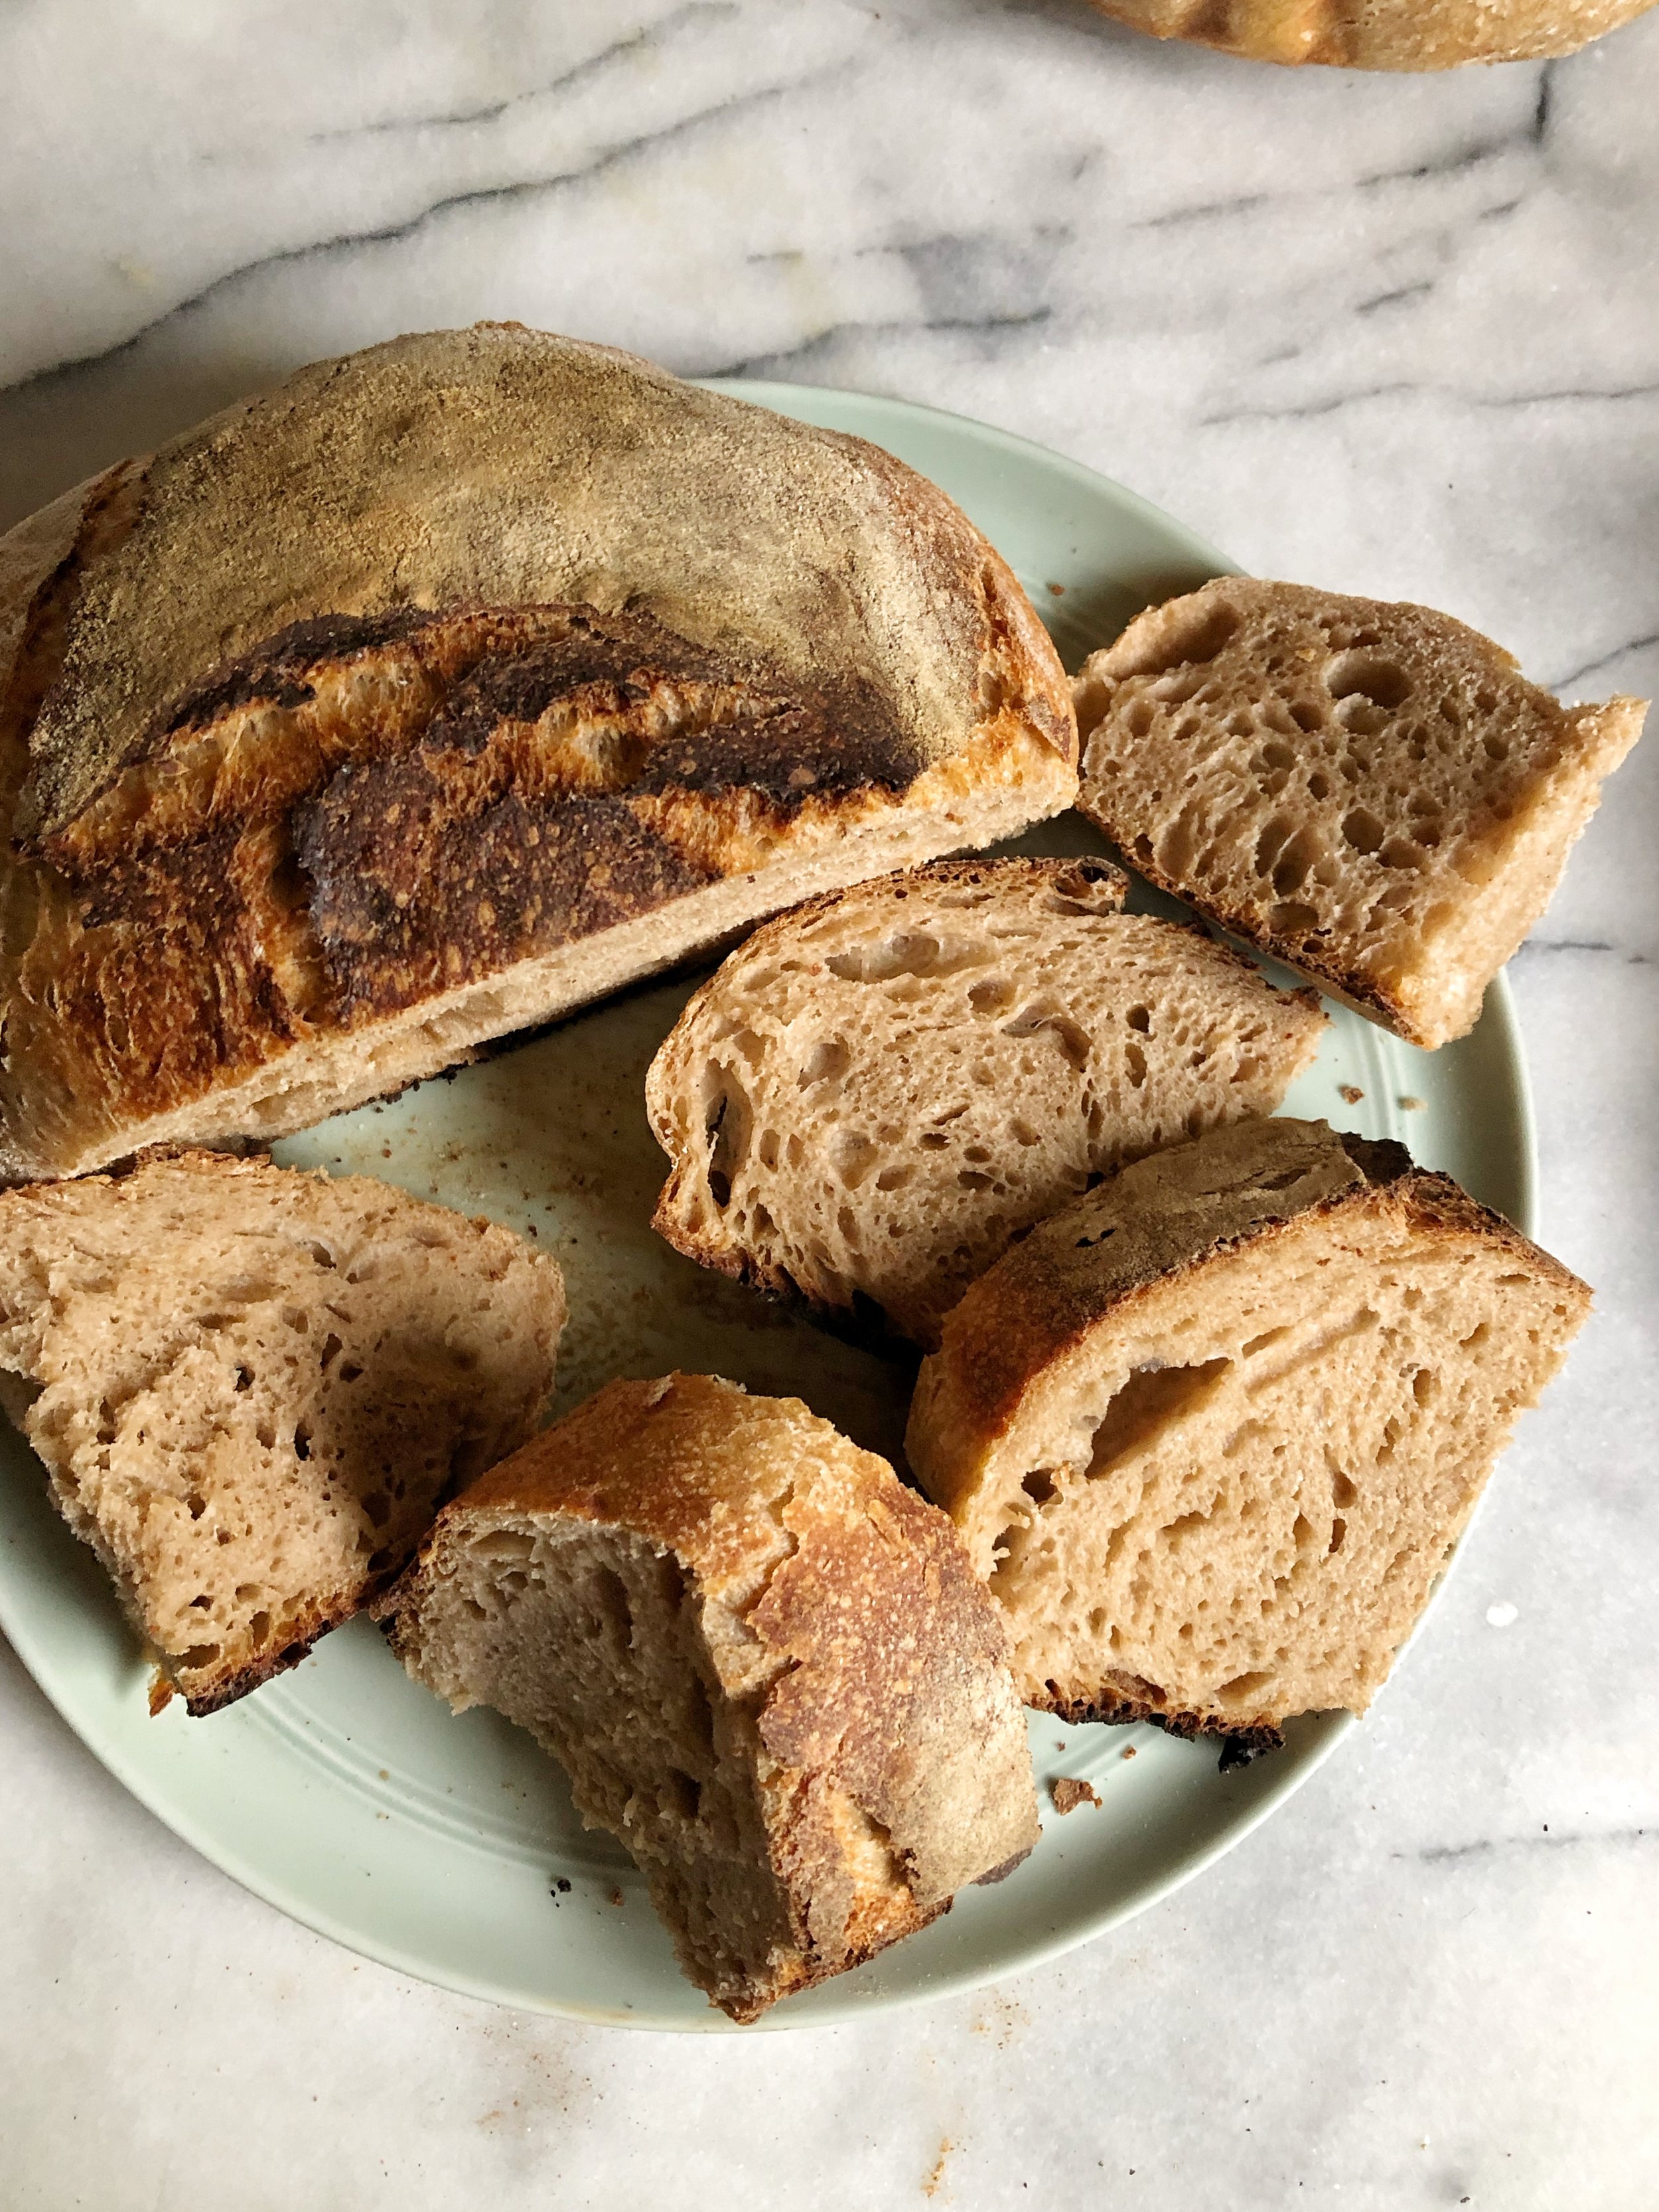
Spongy, a good crumb and a nice crust, near perfection dare I say? With loaf nine and ten, I was much more confident in not only mixing the dough, but folding and letting it proof and rise. I also got comfortable with the stickiness of the dough, gone are the days of panicking when the dough was super sticky and not as pliable and feverishly adding flour. I’d rate this loaf a 8.5 out of 10, which includes flavor, texture and looks.